Pouches are one of the most versatile and practical items you can make. Whether you’re creating a small pouch to hold your coins, a cute cosmetic bag for your makeup, or a durable pouch for organizing your tools or gadgets, the possibilities are endless. Making your own pouch allows you to personalize it to fit your needs and style, and it’s a great craft project to dive into. If you’re ready to learn how to make your own pouch, this step by step guide will walk you through the entire process, from selecting the right materials to adding those finishing touches.
Materials Required Before Making Your Pouch
Before you start making your pouch, it’s essential to gather the right materials. Different fabrics and components will determine the purse’s durability, aesthetic, and functionality. so how to make a pouch out of fabric?
Fabric Selection
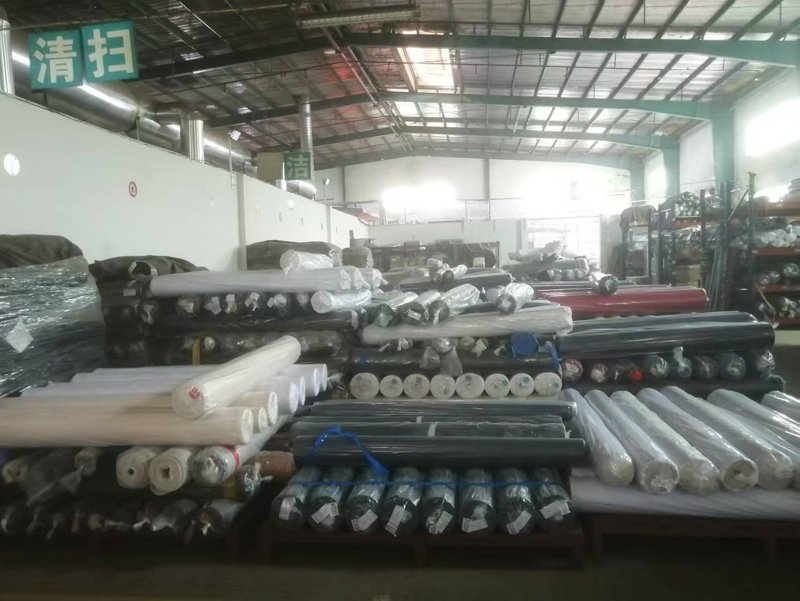
Choosing the right fabric is crucial because it affects both the look and the durability of your pouch. Let’s go over the most common fabric types used in pouch-making, along with their benefits:
- Cotton: Cotton is lightweight, breathable, and available in a wide range of patterns and colors. It’s ideal for simple pouches like coin purses, makeup bags, and small tech cases. However, cotton may not be as durable as other fabrics, so it’s best suited for lighter items.
- Canvas: Canvas is a heavier, sturdier fabric. It’s great for pouches that need to carry heavier loads, such as tool pouches or pouches used in outdoor activities. Canvas is also very durable and resists wear and tear. It’s perfect for creating eco-friendly or casual bags.
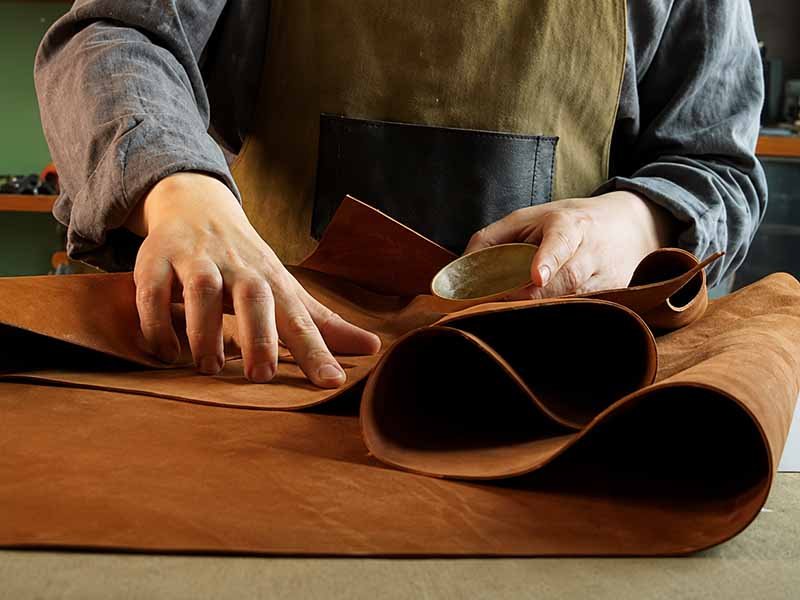
- Leather: Leather adds a touch of luxury and elegance to your pouch. It’s long-lasting and only gets better with age, but it’s also more challenging to sew. Leather pouches are often used for high-end items like wallets, tech organizers, and travel pouches.
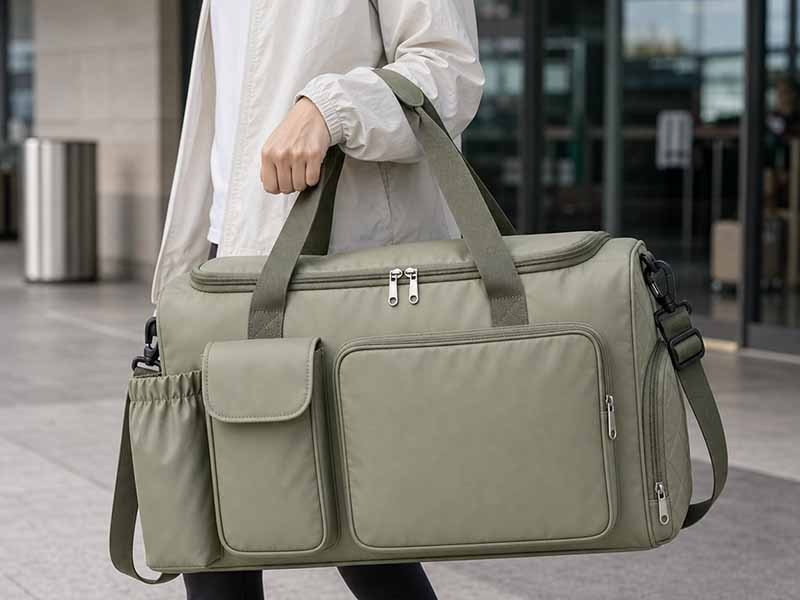
- Polyester: Polyester is known for being strong, water-resistant, and easy to clean. It’s an excellent option for pouches that need to withstand rough conditions or hold items like toiletries or electronics. It’s also relatively inexpensive and comes in many colors.
- Neoprene: If you want your pouch to have extra insulation, neoprene is a great choice. This fabric is water-resistant and shock-absorbent, making it perfect for storing delicate items like cameras, electronics, or makeup products.
Here’s a quick comparison chart to help with fabric selection:
| Fabric Type | Best For | Characteristics | Pros | Cons |
|---|---|---|---|---|
| Cotton | Coin purses, makeup bags, small cases | Soft, breathable, lightweight | Easy to sew, comfortable, diverse patterns | May wear out quickly, not water-resistant |
| Canvas | Tool bags, outdoor pouches | Heavy-duty, durable | Sturdy, long-lasting, eco-friendly | Can be bulky, may require heavy-duty sewing |
| Leather | Luxury wallets, travel bags | Strong, stylish, long-lasting | Premium look, durable | Harder to sew, more expensive |
| Polyester | Toiletry bags, travel pouches | Strong, water-resistant, flexible | Durable, resistant to stains, affordable | Less luxurious, not as breathable |
| Neoprene | Electronics cases, insulated pouches | Flexible, shock-absorbent, water-resistant | Protective, excellent insulation | Not very breathable, may stretch out |
Other Components
- Lining Fabric: Lining is essential to give your pouch structure and make it look neat inside. Cotton or polyester lining is commonly used because it’s lightweight but durable. Lining also hides the raw seams and ensures that the purse holds its shape.
- Zippers, Drawstrings, or Snap Closures: These are crucial for closing the pouch securely. Zippers are most common because they provide a tight seal, but you can also use drawstrings for a more casual look or snaps for easy access.
Designing Your Pouch

Now that you’ve chosen your fabric and notions, it’s time to start thinking about the design of your pouch. Start by considering the following:
Size and Shape
The size of your pouch will determine its functionality. Are you making a small, coin-sized pouch, or a larger bag for cosmetics or tech gadgets? Here’s a guideline for common pouch sizes:
| Type of Pouch | Dimensions (inches) | Purpose |
|---|---|---|
| Coin Purse | 4 x 3 | Small change, keys, or cards |
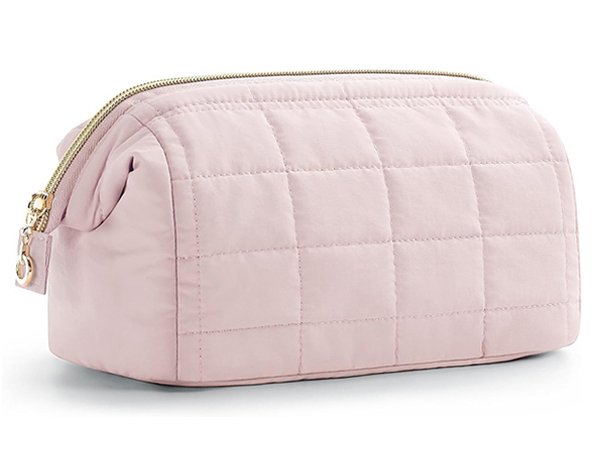
| Makeup Bag | 8 x 5 | Cosmetics, brushes, or small toiletries |
| Tech Organizer | 9 x 6 | Phones, chargers, earphones, or small gadgets |
| Tool Pouch | 12 x 8 | Tools, gadgets, or DIY supplies |
Features to Consider
While designing, think about any extra features that can improve the pouch’s functionality:
- Pockets: Consider adding interior pockets for organizing small items. For example, a small pocket inside a makeup bag can keep brushes or lipsticks separated.
- Reinforced Seams: For a more durable pouch, add reinforced seams, especially at stress points like the zipper or bottom corners.
- Closure Type: The closure type depends on the level of security you need. Zippers offer the most secure closure, while drawstrings or flaps are easier to open and close on the go.
Branding
If you’re making pouches for a business, don’t forget to think about branding. You can customize your pouch with your logo or other design elements. Some popular methods include:
- Embroidery: Adds a classic, upscale touch to your pouch.
- Screen Printing: Ideal for larger designs or logos that need to be transferred onto the fabric.
- Heat Transfer Vinyl (HTV): A good choice for more intricate or colorful designs.
Cutting the Fabric Of The Pouch
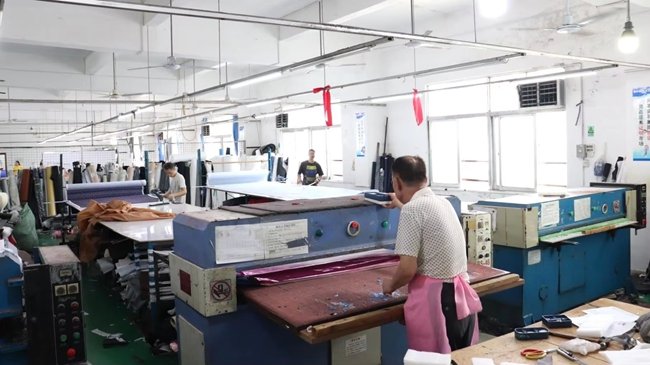
Once your design is ready, the next step is cutting the fabric. Accuracy is key here, as uneven cutting can result in a poorly constructed pouch.
How to Cut Fabric
- Measure Twice, Cut Once: Before cutting, make sure you measure and mark your fabric carefully. For a basic pouch, you’ll need two pieces for the front and back, and one or more pieces for the lining.
- Adding Seam Allowances: Always add seam allowances when cutting fabric. A general rule of thumb is to add 0.5 inches on all sides for seam allowance.
- Use a Rotary Cutter: A rotary cutter is great for cutting straight lines, especially on thicker fabrics like canvas or leather. A fabric ruler and a cutting mat will help you get even, precise cuts.
Trimming and Edging
After cutting, trim any uneven edges, especially on fabrics like cotton that may fray. Use pinking shears or an overlock stitch to prevent fraying edges. This will give your pouch a more professional finish.
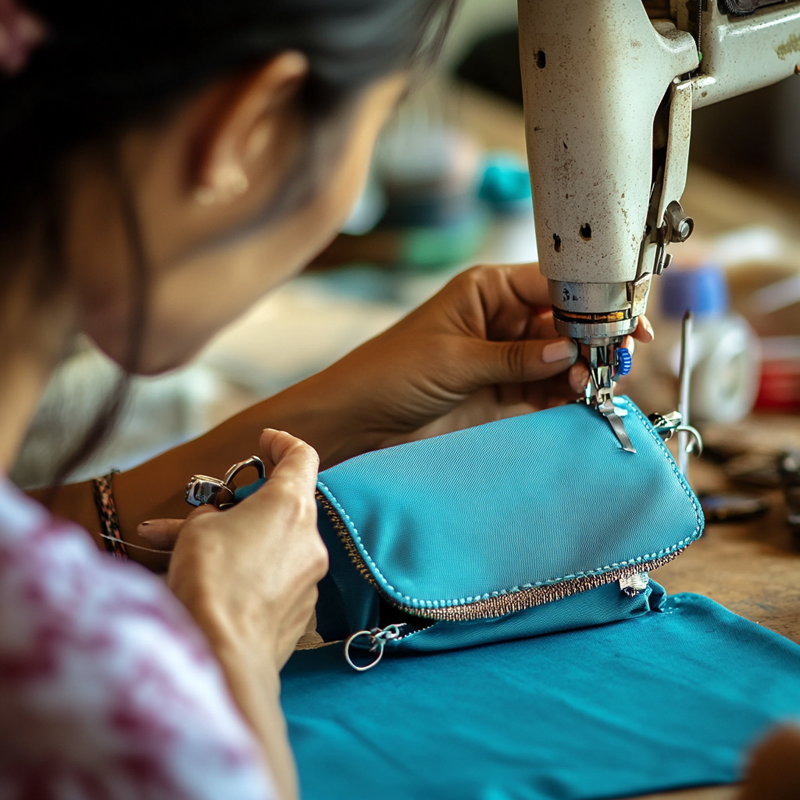
Assembling and Sewing the Pouch
Now comes the fun part: sewing your pouch! This is where your design starts coming to life.
Sewing the Main Seams
- Pinning: Start by pinning the pieces together. Make sure the right sides of the fabric are facing each other so the finished side is on the outside.
- Sewing the Edges: Using a straight stitch or a zigzag stitch, sew along the sides of the pouch, leaving a 0.5-inch seam allowance.
- Reinforce Stress Points: At the corners and where the zipper will be attached, reinforce the seams by sewing back and forth a few times. This will add durability.
Attaching the Zipper or Drawstring
- Zipper: Pin the zipper to the top edges of the fabric and sew it in place. If you’re using a sewing machine, be sure to switch to a zipper foot.
- Drawstring: For a pouch with a drawstring, create a casing at the top of the pouch and insert the string. Sew the casing securely, then thread the drawstring through using a safety pin.
Lining the Pouch
The lining adds polish and structure to your pouch. Here’s how to line your pouch properly:
- Attach the Lining: Once the outer pouch is assembled, turn it inside out and pin the lining in place. The lining should fit snugly inside the pouch.
- Sew the Lining: Sew along the top edge, ensuring both the outer fabric and lining are securely attached. Once finished, turn the pouch right-side out, and the lining will be neatly tucked inside.
How To Make a Pouch Pocket
Adding a pocket to your pouch enhances its functionality, making it ideal for organizing smaller items. Start by deciding on the type of pocket: a simple flat pocket for lightweight items, a gusseted pocket for added depth, or a zippered pocket for secure storage. Measure and cut your fabric based on the size you need, ensuring to add 1 inch for seam allowances. Fold and iron the edges for a clean finish, sewing the top edge first to reinforce the pocket opening. For gusseted pockets, add fabric strips to create depth before attaching the pocket. Zippered pockets require aligning the zipper with a slit in the main fabric, stitching the zipper to the pocket first, then attaching it securely to the pouch.
Once your pocket is prepared, pin it in place on the pouch, checking for proper alignment. Sew the sides and bottom of the pocket to the pouch with a straight stitch, reinforcing the corners for extra durability. For gusseted or zippered pockets, ensure all seams are tight and edges are smooth. After sewing, inspect for any loose threads or uneven stitching, and press the pocket with an iron for a polished look. With this simple process, you’ll have a stylish and functional pocket that adds value to your pouch!
Customizing the Pouch
Customization is what makes your pouch unique. Here’s how you can personalize it:
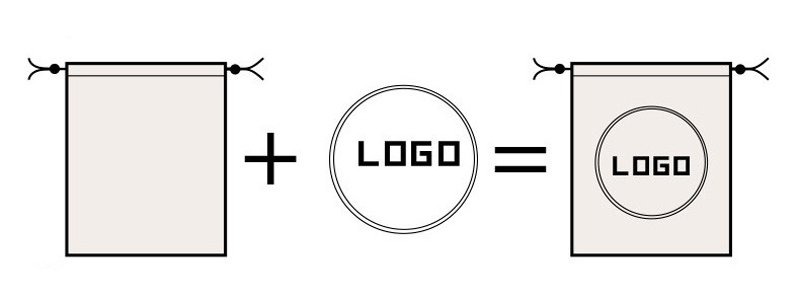
Adding a Logo
You can add a logo to your pouch using several techniques:
- Embroidery: Great for a high-end look, embroidery works well for fabric pouches.
- Screen Printing: Ideal for larger runs of pouches, screen printing gives a vibrant and durable finish.
- Heat Transfer Vinyl (HTV): Perfect for intricate designs, HTV is a great way to add logos and text to both fabric and leather pouches.
Color and Fabric Customization
If you’re designing for a brand, make sure the colors match your brand’s aesthetic. For instance, if you’re creating pouches for a beach resort, choose bright, summery fabrics. You can also experiment with different fabric textures, like faux leather or velvet, for a high-end feel.
Quality Control and Final Touches
After sewing, it’s important to inspect your pouch for any issues.
Inspecting for Errors
Check the pouch for any uneven stitching or weak seams. Ensure the closure functions smoothly, whether it’s a zipper, drawstring, or button.
Pressing the Pouch
To give your pouch a crisp, professional finish, press it using an iron. Be careful to follow fabric instructions, especially with delicate materials like silk or polyester. Pressing will also help remove any wrinkles and give your pouch a neat appearance.
Final Assembly
Once the pouch looks good, inspect the lining to ensure it’s properly sewn in and that there are no loose threads. For added strength, you can reinforce the corners of your pouch by sewing over them a couple of times.
Troubleshooting Common Mistakes
Even the most experienced sewers run into challenges. Here are a few common issues and how to solve them:
- Uneven Seams: If your seams aren’t straight, slow down your sewing and guide the fabric carefully. If necessary, use a seam ripper to fix any mistakes.
- Crooked Zipper: If your zipper looks uneven, remove it and re-attach it with more precision. A zipper foot on your sewing machine can help you get it just right.
- Incorrect Fabric Choice: Don’t choose a fabric that’s too stiff or too soft for your intended use.
- Overstuffing the Pouch: Remember, pouches are meant to be compact! Avoid overfilling your pouch, which can cause the fabric to stretch or distort.
Packaging and Marketing Your Pouch
If you’re planning to sell or give away your pouch, packaging it well is key. Fold it neatly, and consider adding a custom tag with your logo. Use eco-friendly wrapping or a branded box for that extra touch of luxury.
For marketing, highlight the customizable options of your pouches. Whether it’s through social media, eCommerce sites, or direct mail, make sure your pouches stand out with their unique designs and high-quality craftsmanship.
Conclusion
Making your own pouch is a fun, creative project that can also be a profitable venture. With the right materials, tools, and techniques, you can craft a pouch that’s not only functional but also stylish and unique. Whether for personal use, as a gift, or as part of a branding effort, pouches are one of the most versatile items to create. So, grab your fabric, get sewing, and let your creativity shine!
For those interested in taking the plunge into custom pouch-making, feel free to reach out for more tips, material recommendations, or assistance in designing the perfect pouch for your needs!