 Skip to content
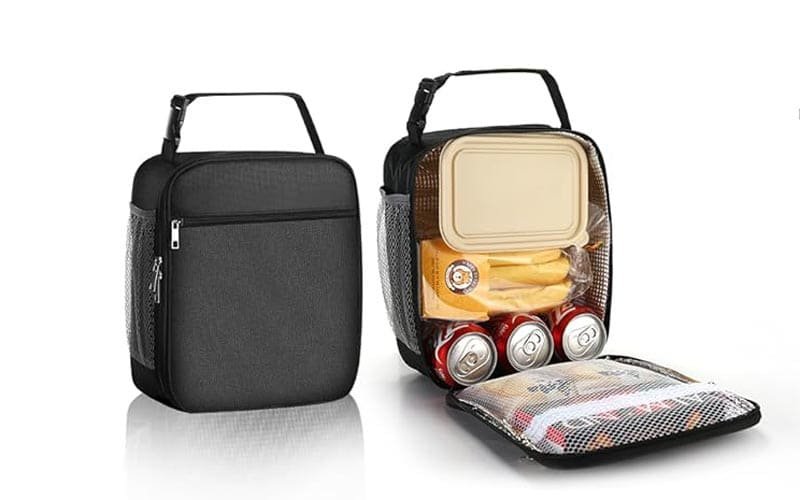
Imagine turning a simple piece of fabric into a unique, eco-friendly lunch bag that not only carries your food but also becomes an expression of your personal style. Whether you’re tired of disposable options or you want to showcase your DIY skills, crafting your own lunch bag is a fun and rewarding project. In this guide, we’ll cover everything,from selecting the right materials to the detailed steps of cutting, sewing, and finishing your bag,so you can create a durable and stylish accessory that lasts for years.
Making a fabric lunch bag involves carefully selecting quality fabric, lining, and interfacing; preparing and cutting your pattern; sewing the pieces together; and finishing with waterproofing and embellishments.
Let’s dive into the process and bring your creative vision to life!
What Materials Do You Need To Make a Fabric Lunch Bag?
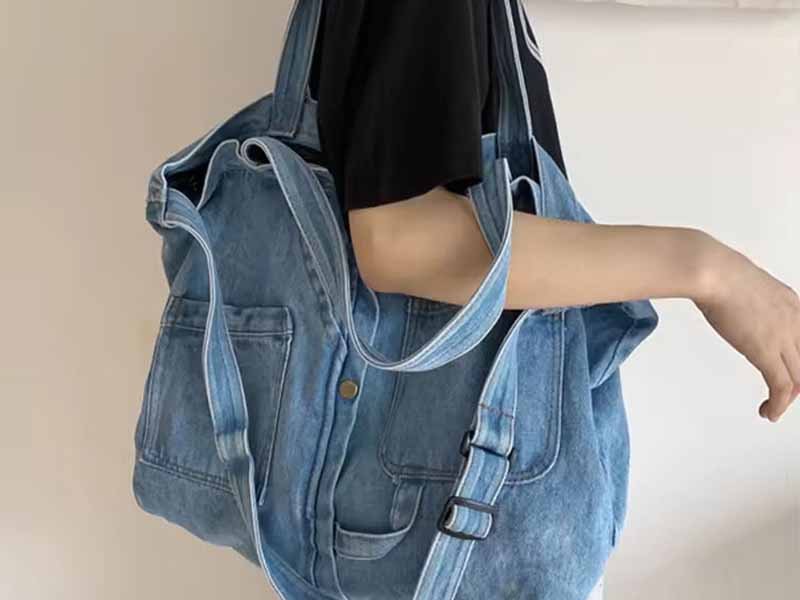
To create a fabric lunch bag, you’ll need a durable main fabric (like cotton canvas), a waterproof lining (nylon or polyester), medium-weight interfacing, quality thread, and any desired embellishments like zippers or pockets. These materials ensure both functionality and style.
Main Fabric:
- Options: Cotton canvas, denim, or polyester blends.
- Considerations: Look for fabrics that are durable, washable, and have a consistent texture.
- Data Insight: High-quality cotton canvas typically costs around $10-$20 per yard.
Lining:
- Options: Nylon or polyester with a waterproof coating.
- Benefits: These materials are water-resistant and help protect your lunch contents.
- Data Insight: Premium nylon lining can range from $5-$15 per yard.
Interfacing:
- Purpose: Provides structure and stability to the bag.
- Recommendation: Use medium-weight, fusible interfacing.
- Data Insight: Quality interfacing costs approximately $2-$5 per yard.
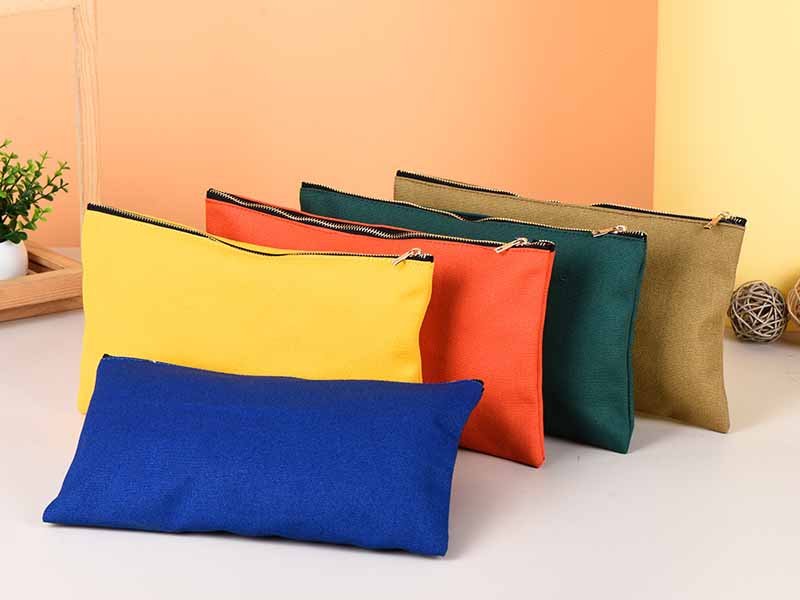
- Embellishments:
- Options: Zippers, Velcro, snaps, or additional pockets for extra functionality.
- Considerations: Choose embellishments that complement the design and enhance usability.
Materials Table:
| Material | Purpose | Price Range (per yard) |
|---|---|---|
| Main Fabric | Exterior of the bag | $10 – $20 |
| Lining | Waterproof inner layer | $5 – $15 |
| Interfacing | Adds structure and support | $2 – $5 |
| Embellishments | Zippers, Velcro, pockets, etc. | Varies (typically $1 – $10 each) |
Which Tools Are Essential for Making a Fabric Lunch Bag?
Essential tools include a reliable sewing machine, sharp fabric scissors, a cutting mat, measuring tape and ruler, pins or clips, and an iron with an ironing board. These ensure precise cuts, secure seams, and a professional finish for your DIY lunch bag project.
Creating a fabric lunch bag requires the right set of tools to make the process efficient and to achieve a high-quality, durable product. Each tool plays a unique role in ensuring that every step,from measuring and cutting to sewing and finishing,is executed with precision.
1. Sewing Machine
- Provides strong, consistent seams and speeds up the assembly process.
- Recommendation: A heavy-duty sewing machine is ideal for handling thicker fabrics and interfacing.
- Example: Brands like Singer, Brother, and Janome are popular for their reliability and performance.
2. Fabric Scissors
- Ensures clean, precise cuts to prevent fraying and uneven edges.
- Recommendation: Use dedicated, high-quality fabric scissors for best results.
- Tip: Keep your scissors sharp and reserve them only for fabric cutting.
3. Cutting Mat
- Protects your work surface and provides a stable area for accurate cutting.
- Recommendation: A self-healing cutting mat is preferred as it withstands repeated cuts without damage.
4. Measuring Tape and Ruler
- Essential for accurately measuring and marking fabric for pattern pieces.
- Recommendation: Use a flexible measuring tape for curved measurements and a clear, straight ruler for precise lines.
5. Pins or Clips
- Hold fabric pieces in place during cutting and sewing to ensure proper alignment.
- Recommendation: Use fabric clips for thicker materials or safety pins for lighter fabrics to prevent shifting.
6. Iron and Ironing Board
- Pressing fabric ensures a smooth, wrinkle-free surface, which is critical for accurate cutting and neat seams.
- Recommendation: A high-quality iron with adjustable temperature settings and a stable ironing board are essential for best results.
| Tool | Purpose | Key Features/Recommendations |
|---|---|---|
| Sewing Machine | Creates strong, consistent seams | Heavy-duty; brands like Singer, Brother |
| Fabric Scissors | Precise cutting of fabric | Dedicated fabric scissors; sharp and reliable |
| Cutting Mat | Protects work surface during cutting | Self-healing; available in various sizes |
| Measuring Tape/Ruler | Accurate measurements and marking | Flexible tape; clear, straight ruler |
| Pins/Clips | Secure fabric pieces during assembly | Safety pins or fabric clips for stability |
| Iron & Ironing Board | Press fabric for smooth, crisp seams | High-quality iron with adjustable settings; stable board |
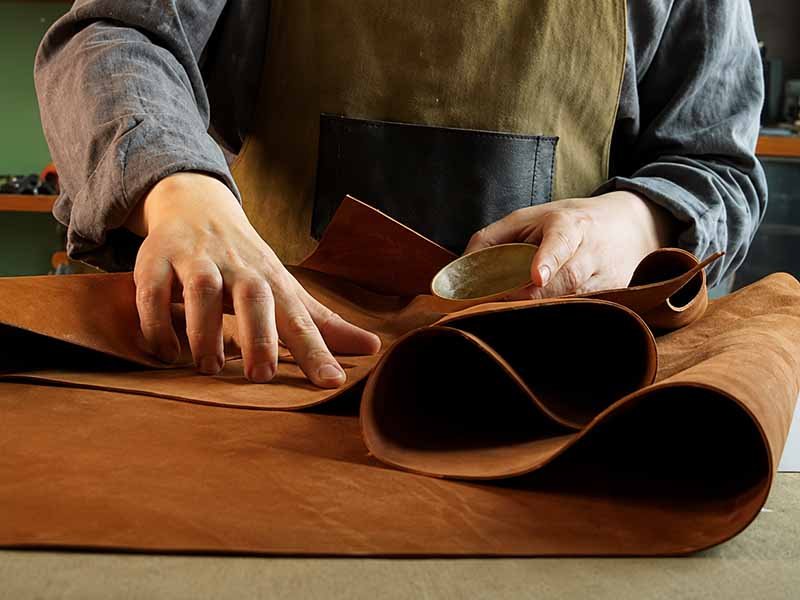
How Do You Prepare and Cut Your Fabric?
Preparation is key! Start by pre-washing your fabric to remove chemicals and prevent shrinkage, then iron to create a smooth surface. Use a pattern to trace your design on both the main fabric and lining, and cut precisely using sharp scissors.
Pre-Washing:
- Wash the fabric to remove finishes and pre-shrink it.
- Tip: Use a gentle detergent.
Ironing:
- Iron the fabric thoroughly to remove wrinkles.
- Benefit: Ensures accurate cutting and a smooth finish.
Pattern Preparation:
- Choose or draft a lunch bag pattern and trace it on your fabric.
- Tip: Use tailor’s chalk for clear markings.
Cutting:
- Carefully cut along the pattern lines.
- Tip: Use a sharp pair of fabric scissors on a cutting mat.
How Do You Sew and Assemble the Lunch Bag?
Sew your lunch bag by stitching the main fabric and lining separately, then assembling them together. Ensure you attach interfacing for structure and add closures or pockets as desired for a functional, professional finish.
1. Sewing the Main Fabric Pieces
- Preparation: After pre-washing and ironing, lay out your main fabric pieces according to your pattern.
- Seaming: Sew the outer fabric pieces together using a heavy-duty sewing machine with strong thread. Ensure that your seam allowances are even (typically 1/4” to 1/2”).
- Tip: Use a straight stitch for durability and consider reinforcing high-stress areas with additional stitching.
2. Constructing the Lining
- Separate Assembly: Similarly, sew the lining pieces together. Lining materials (like nylon or polyester) often require a different needle setting for a smooth finish.
- Attention: Make sure the lining seams are neat, as these will be visible inside the bag and contribute to the overall appearance.
3. Attaching Interfacing
- Purpose: Interfacing is applied to the main fabric to add structure and stability.
- Method: Using a fusible interfacing, press it onto the main fabric following the manufacturer’s instructions.
- Result: This step prevents the bag from looking floppy and helps it maintain its shape when in use.
4. Final Assembly: Joining Fabric and Lining
- Layering: With the interfaced main fabric and the pre-assembled lining ready, place them together with the right sides facing each other.
- Sewing: Sew around the edges, leaving an opening (typically at the top) for turning the bag right side out.
- Technique: Use a zipper or Velcro closure if desired, and reinforce the opening with extra stitching.
5. Finishing Touches
- Turning and Pressing: Turn the bag right side out through the opening and press all the seams with an iron for a crisp finish.
- Trimming: Trim any excess threads or fabric, and consider topstitching around the edges to secure the seam and add a decorative touch.
- Embellishments: Add any additional features such as pockets, labels, or custom embroidery to personalize your bag further.
How Do You Finish and Protect Your Fabric Lunch Bag?
Finish your bag by ironing all seams, applying a waterproof coating if desired, and adding embellishments like pockets or labels. Proper finishing ensures durability and a professional, polished look.
Seam Pressing:Iron all seams to create a crisp finish and enhance durability.
Waterproofing:Consider applying a fabric waterproof spray for extra protection.
Adding Details:Sew on extra pockets, zippers, or labels for functionality and style.
Quality Check:Inspect all seams and closures to ensure a secure, long-lasting build.
How Much Does It Cost to Make a Fabric Lunch Bag?
The cost to make a fabric lunch bag depends on material quality, customization, and labor. Typically, it ranges from $30 to $150 per bag, with premium fabrics and extra features increasing the cost.
Material Quality:
- Higher quality fabric, lining, and interfacing drive up costs.
- Example: Premium cotton canvas may cost $10-$20 per yard.
Customization:
- Extra features like custom pockets or zippers add to the price.
Labor and Production:
- Hand-sewn details and intricate designs increase labor costs.
| Cost Factor | Estimated Cost (USD) | Notes |
|---|---|---|
| Main Fabric | $10 – $20 per yard | Higher for premium cotton canvas |
| Lining | $5 – $15 per yard | Nylon or polyester; adds waterproofing |
| Interfacing | $2 – $5 per yard | Medium-weight fusible interfacing |
| Embellishments | $5 – $20 per bag | Zippers, Velcro, pockets, etc. |
| Labor (Hand-Sewn) | $10 – $50 per bag | Higher cost for intricate, custom designs |
| Total (Single Bag) | $30 – $150 per bag | Varies by quality, customization, and production |
| Bulk Discount | 20-30% off per unit | On orders of 50+ bags |
Conclusion
Creating your very own fabric lunch bag is an enjoyable and sustainable DIY project that allows you to express your creativity while producing a functional accessory. From selecting quality materials and essential tools to mastering each step of the sewing process, every detail counts in achieving a professional finish. With proper care and finishing, your custom lunch bag will be a durable, stylish companion for everyday adventures.

Can't find the answers?
No worries, please contact us and we will answer all the questions you have during the whole process of bag customization.
Make A Sample First?
If you have your own artwork, logo design files, or just an idea,please provide details about your project requirements, including preferred fabric, color, and customization options,we’re excited to assist you in bringing your bespoke bag designs to life through our sample production process.