 Skip to content
how to make a circular drawstring bag?
- Eric
- January 9, 2025
- 8:20 am

Have you ever daydreamed about a unique, practical bag that you could sew yourself,one that stands out from the typical rectangles and totes? How to make a circular drawstring bag might be the question that sparks your next creative project. Picture a fun, round pouch bag that’s convenient for storing daily essentials, cosmetics, or even small knitting projects. Plus, it’s surprisingly easy to make once you understand a few key steps. I once whipped one up as a quick gift for a friend who was always misplacing her makeup, and she was thrilled by how charmingly different it looked.
A circular drawstring bag is a round-shaped pouch sewn from two fabric circles, featuring a drawstring closure. You’ll need enough fabric for two circles, plus a lining if desired, and a sturdy cord. By carefully sewing the bottom and reinforcing seams, you’ll create a secure, stylish accessory.
In this guide, we’ll walk through choosing the right fabric and tools, measuring out your circles, sewing the bottom for a neat fit, reinforcing it for durability, and completing the bag with a functional drawstring. Ready to dive in?
What Is a Circular Drawstring Bag?
A circular drawstring bag is a round pouch sewn from two fabric circles, featuring a drawstring channel around the top. It securely closes with a cord and is often used for storing or carrying small items in a unique, stylish way.
Shape and Structure
Unlike typical rectangular bags, these are literally circular in shape. The drawstring at the top gathers the fabric together, giving the bag a cute, pouch-like silhouette. Its shape alone often draws attention and compliments.
Everyday Applications
- Cosmetic Organizer: Perfect for storing makeup brushes or travel-sized toiletries.
- Jewelry or Craft Storage: Great for holding beads, yarn, or small accessories.
- Gift or Party Favor Bag: Adds a creative flair to any wrapped present.
Why a Circular Pouch Bag?
The design stands out from standard drawstring sacks. Plus, the even distribution of material means it can sit fairly flat when filled, making it easier to see or grab items inside.
Which Materials Do You Need to Make a Circular Drawstring Bag?
You’ll need fabric (cotton, canvas, or a sturdy blend), matching thread, drawstring cord, scissors, pins, a ruler or measuring tape, and optional lining or interfacing if you want extra stability.
Fabric Selection
- Cotton: Easy to sew, comes in endless prints, and is suitable for lightweight items.
- Canvas: Offers a more rugged, durable vibe if you expect heavier usage.
- Blends/Nylon: For a splash-resistant bag or a shinier finish, though these can be trickier to sew.
Material Comparison Table
| Fabric Type | Pros | Cons |
|---|---|---|
| Cotton | Easy to handle, countless patterns | Less durable for very heavy loads |
| Canvas | Sturdy, good for larger or heavier items | Heavier feel, may require heavier needle |
| Nylon/Polyester | Water-resistant, modern look | Can be slippery to sew, may need special needle |
Thread, Cord, and Add-Ons
- Thread: Standard polyester thread works fine. Match or contrast the fabric color.
- Drawstring Cord: Aim for something 1/8–1/4 inch thick, like cotton rope or nylon paracord. Choose a length that’s at least twice the bag’s circumference to allow easy cinching.
- Optional Interfacing: If the fabric is light, adding interfacing can help the bag hold its shape better.
Other Tools
- Scissors or Rotary Cutter: Ensure they’re sharp for clean circle edges.
- Pins or Clips: A must for holding curved edges in place.
- Measuring Tape or Ruler: Accuracy is key for symmetrical circles.
How to Choose the Right Fabric, and How Much Do You Need?
Pick a sturdy yet flexible fabric (like cotton or canvas) for easy sewing and aesthetics. You’ll typically need about half a yard to one yard, depending on the bag’s diameter and whether you want a lining or extra embellishments.
Determining Bag Diameter
- Small Bag (8–10 inches in diameter): Great for storing jewelry or small accessories. Likely requires around 0.5 yards if you include minor seam allowances and possible mistakes.
- Medium Bag (11–14 inches in diameter): Good for carrying daily makeup, small electronics, or lunch snacks. About 0.5–0.75 yards is enough.
- Large Bag (15+ inches in diameter): Perfect for bigger loads like knitting supplies or small clothing items. You might want 1 yard or more.
Examples of Fabric Usage
Imagine you’re making a 12-inch diameter bag. You’ll cut two circles (front and back), each with a 12-inch diameter plus seam allowance. If the fabric is 44 inches wide, you can likely fit both circles across the width. A half-yard piece (18 inches long) might be sufficient, but it’s good to have a bit extra in case of errors.
Fabric Requirement Chart (Approx.)
| Diameter (inches) | Suggested Fabric | Uses |
|---|---|---|
| 8–10 | ~0.5 yd | Small pouches (cosmetics, jewelry) |
| 11–14 | 0.5–0.75 yd | Medium daily bag (makeup, phone, wallet) |
| 15–18 | 0.75–1 yd | Larger projects (craft items, mini clothing) |
Practical Tips
- Account for Errors: If you’re new to sewing circles, grabbing an extra quarter yard helps.
- Lining or Reinforcement: Double the circle count if you plan on a lined bag.
- Color Coordination: Choose fabrics that won’t show wear or stains easily, especially if used for carrying daily items.
What Tools Are Necessary for Sewing a Circular Drawstring Bag?
You’ll need a sewing machine, scissors, measuring tape, pins, fabric chalk (for marking circles), an iron, coordinating thread, and a drawstring cord. Optional extras include interfacing, decorative trims, and a safety pin for drawstring insertion.
Must-Have Tools
- Sewing Machine & Needles: A basic machine with a medium-weight universal needle usually suffices.
- Cutting Tools: Fabric scissors or a rotary cutter ensures neat edges.
- Marking Tools: Chalk, washable marker, or even a pencil for outlining circle shapes.
Helpful Extras
- Iron & Ironing Board: Press your fabric before cutting—wrinkles cause inaccurate measurements.
- Pins, Wonder Clips, or Binder Clips: Particularly essential for holding curved seams together.
- Safety Pin: A lifesaver for threading the drawstring through the channel.
Embellishment or Reinforcement Tools
- Grommet Kit: For a polished, reinforced drawstring opening.
- Embroidery Thread: If you plan to personalize with names or patterns.
- Fabric Glue or Tape: Might help in positioning details before sewing.
How to Create the Pattern and How Much Fabric Do You Need for a Circular Drawstring Bag?
Trace two circles based on the bag’s intended diameter, add half-inch seam allowances, and plan extra fabric if you want a lining or pockets. Generally, 0.5–1 yard suffices, depending on bag size.
Drawing Perfect Circles
- Compass Method: Set your compass to half the desired diameter (radius) and draw two identical circles on your fabric.
- Round Object Method: Trace a large plate or lid to ensure uniform circles.
Adding Seam Allowances
- Seam Margin: Typically 0.5 inch around each circle.
- Drawstring Channel Margin: If the top edge will fold to create a channel, add about 1 inch above the circle’s upper portion.
Accounting for Lining or Interfacing
- Double Circles: If using a lining, you’ll cut four circles total (two for outer fabric, two for lining).
- Interfacing Sizing: Usually the same diameter as the main circle, or slightly smaller to reduce bulk in seams.
How to Sew a Round Pouch Bag: Step by Step Guide
Sew two fabric circles together, create a drawstring channel at the top, insert the cord, and finish by reinforcing seams and adding any desired embellishments for style or function.
Prepping Fabric and Tools
- Wash and Iron: Eliminate shrinkage or wrinkles.
- Cut Circles: Use your chosen method to ensure symmetrical rounds.
How to Sew the Bottom of a Circular Bag?
- Aligning the Circles: For the bottom, place the two circular pieces right sides together.
- Stitching Around the Edge: Leave a small opening for flipping right side out. Go slowly; circular edges can be tricky.
- Turning Right Side Out: Once flipped, press the edges gently with an iron, and close the opening with a topstitch.
Creating the Drawstring Channel
- Upper Edge Management: Fold the top portion inward (0.5–1 inch) and stitch around to form the channel. If your design splits the bag into a bottom circle plus a top portion, sew them carefully.
- Threading the Cord: Attach a safety pin to the cord end and thread it around the entire circumference.
How Do You Reinforce the Bottom of a Circular Drawstring Bag?
- Interfacing Insert: If you want extra sturdiness, cut a slightly smaller circle of interfacing or sturdy plastic canvas to slip inside the bottom.
- Extra Stitching: Sew another row of topstitching around the base seam for added strength. Some crafters also attach small “feet” or thicker patches to the underside.
Checking the Bag
- Test the Drawstring: Pull it closed; does it gather easily?
- Look for Gaps or Loose Seams: Re-stitch any questionable areas.
Step by Step Sewing Chart
| Step | Action | Details |
|---|---|---|
| Prep and Cut | Mark & cut two main fabric circles (plus lining if desired) | Add 0.5″ seam allowance, plan extra for channel |
| Sew the Bottom (Circles) | Place circles RST (right sides together), stitch around | Leave small gap to turn right side out, press edges |
| Reinforce Bottom | Add interfacing or extra stitching for durability | Helps maintain shape, especially for heavier items |
| Create Drawstring Channel | Fold top edge & stitch to form channel (or attach top circle area) | Ensure space for cord to move freely |
| Insert Drawstring | Use a safety pin to guide the cord around the channel | Knot ends or add cord stops |
| Final Check | Examine seams, test drawstring, do finishing topstitch if needed | Ensure no open gaps, bag closes smoothly |
How to Customize Your Circular Drawstring Bag?
Personalize with fabric choices, embroidery, added pockets, or special hardware (like grommets). Adjust size, add a lining, or incorporate decorative details to match your style and usage.
Pocket Placement
- External Pockets: A small zippered pocket on the outside for quick phone or key access.
- Internal Slots: If using a lining, sew small compartments for lip balm or coins.
Embellishments and Decor
- Embroidery or Applique: Perfect for monograms, cool patterns, or brand logos.
- Fabric Paint or Dye: Let your artistic side out— tie-dye the fabric first for a unique swirl effect.
Hardware Add-Ons
- Grommets/Eyelets: Insert them at the top channel for a polished look and to reduce cord friction.
- Cord Stops or Toggles: Let you tighten or loosen the drawstring easily.
Brand Identity or Gifts
- Company Logo: Great for promotional items or staff gifts.
- Name Tags: If the bag is for a child’s school kit or an event giveaway, personalizing each one can be extra special.
What Are Common Mistakes to Avoid When Making a Circular Drawstring Bag?
Inaccurate circle cutting, uneven seam allowances, insufficient drawstring channel width, and ignoring bottom reinforcement can undermine your bag’s functionality, leading to an uneven shape or fragile construction.
Skimping on Fabric
- Exact or Minimal Fabric: This leaves no room for mistakes. Always have a bit extra (around 10–20% more) in case of measuring slip-ups.
- Too Small Channel: The drawstring gets stuck, making it tough to open or close the bag.
Rushing Circular Seams
- Curved Sewing: Go slowly around the edges to maintain a neat curve. Fast sewing can cause uneven lines or puckers.
- Clipping Seam Allowances: Clipping small notches around the curve can help it lay flat once turned right side out.
Neglecting Reinforcement
- Weak Bottom: A single layer of thin cotton might tear under moderate weight. Adding interfacing or an extra layer prevents premature wear.
- Skimping on Topstitch: A second row of stitching can significantly strengthen the seams.
Overstuffing the Bag
- Strained Drawstring: If you fill the bag with heavier or bulkier items than intended, the drawstring might get jammed, or the top edge might rip.
- Balance Capacity vs. Purpose: If you need to carry a lot, enlarge the pattern or pick sturdier fabric.
Conclusion
Sewing a circular drawstring bag is an enjoyable project that yields a uniquely stylish and functional accessory. At Szoneier, we specialize in helping you bring your creative bag ideas to life. From selecting top-quality fabrics and offering comprehensive sample services to fulfilling large custom orders for brands, we’ve got the expertise to guide you seamlessly. Contact us today to discuss your exact design specifications, color preferences, or unique branding ideas for your circular drawstring bag. Let’s collaborate to craft a bag that perfectly blends functionality, durability, and personal flair,making your everyday carry an absolute standout!
Latest blogs
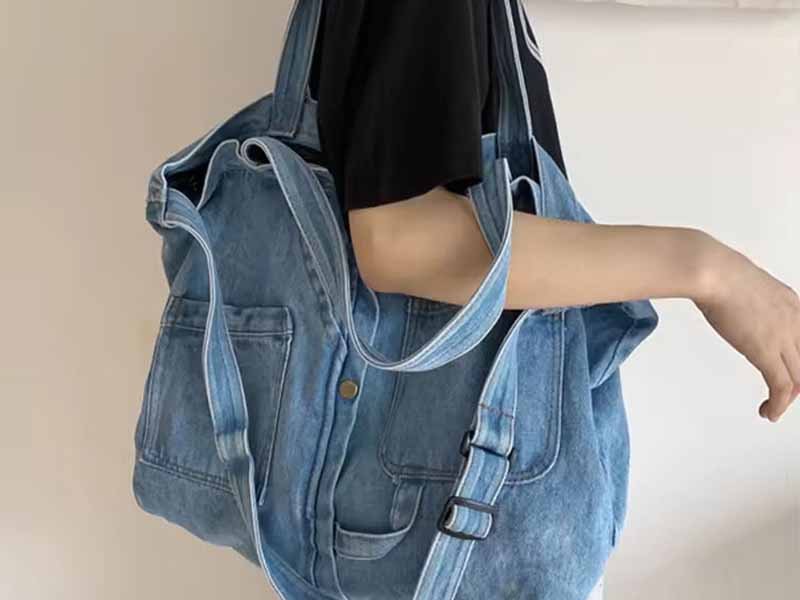
How Are Denim Tote Bags Manufactured
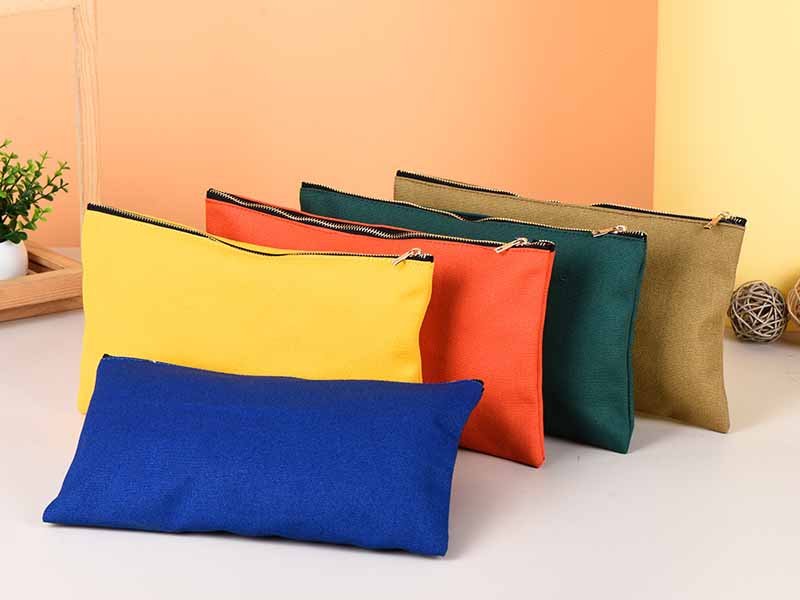
Types of Pencil Pouches for School and Office
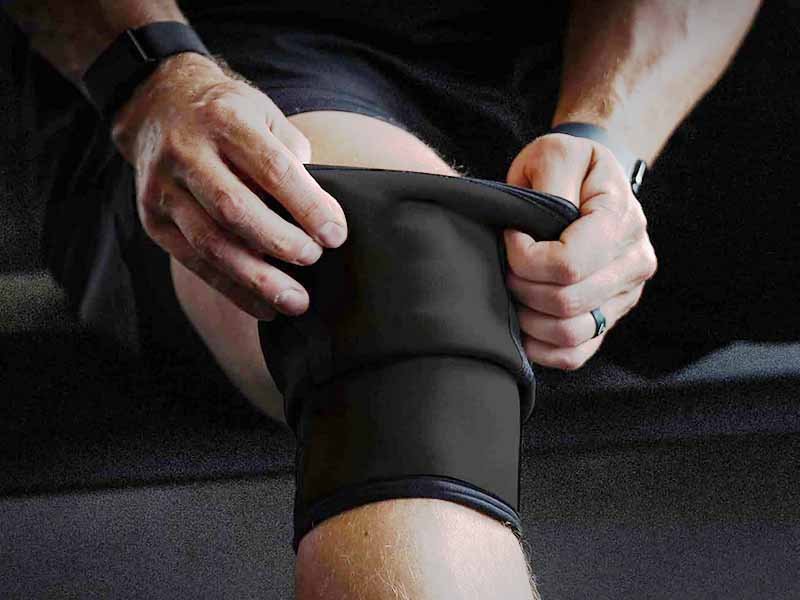
3mm vs 5mm Neoprene Sleeve Manufacturing: Which One Fits Your Brand
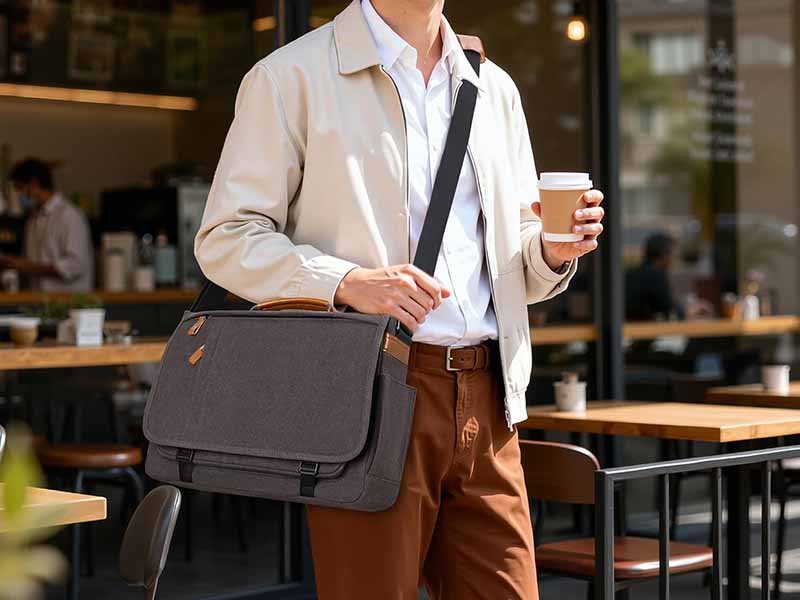
Messenger Bag Fabric Testing: What Makes a Bag Durable
EVA Camera Case Manufacturing: A Simple Guide

Jute Gift Bag Manufacturing for Retail Packaging
Can't find the answers?
No worries, please contact us and we will answer all the questions you have during the whole process of bag customization.
Make A Sample First?
If you have your own artwork, logo design files, or just an idea,please provide details about your project requirements, including preferred fabric, color, and customization options,we’re excited to assist you in bringing your bespoke bag designs to life through our sample production process.