Skip to content

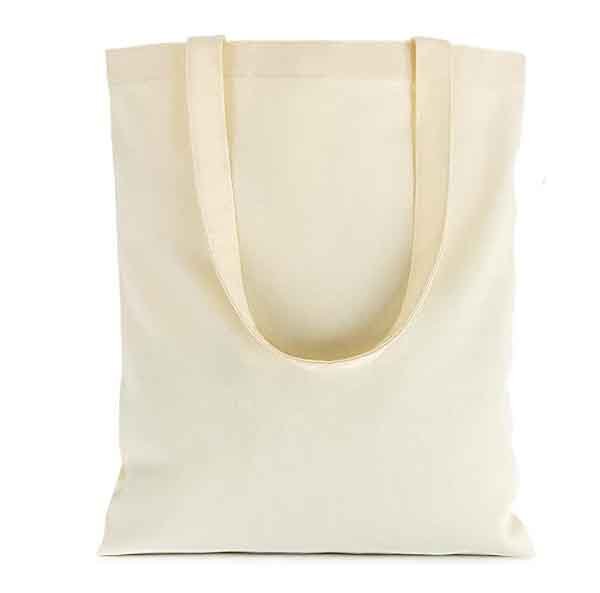
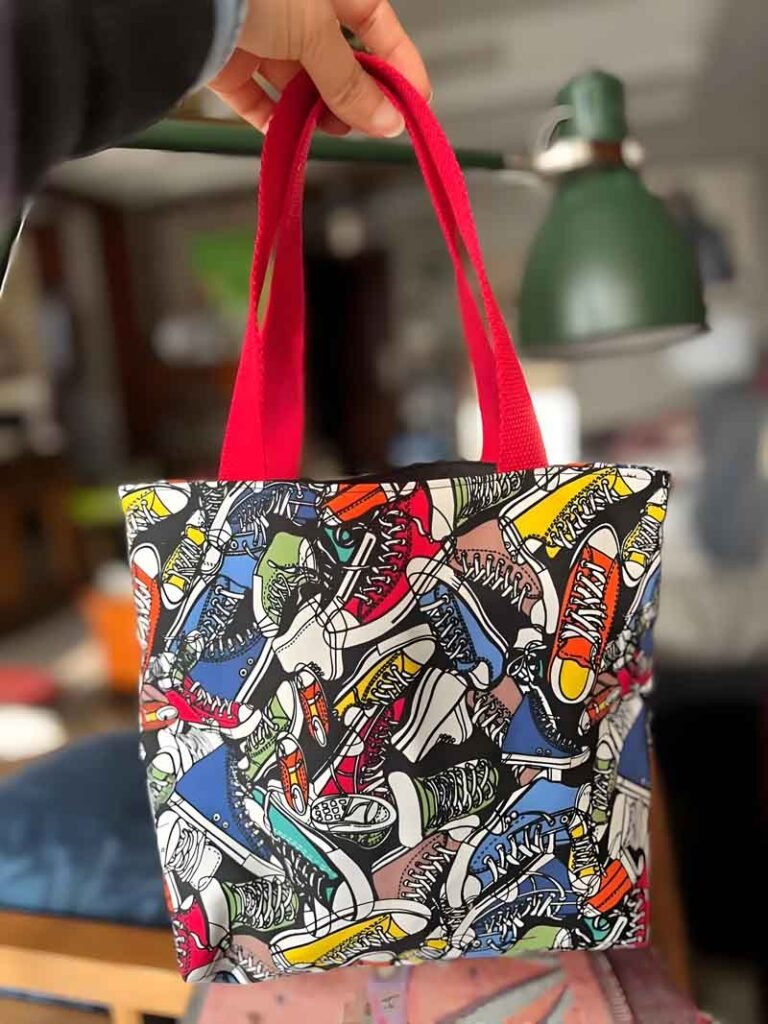
Making your own fabric bag is like crafting a wearable piece of art—functional, eco-friendly, and endlessly customizable. From choosing the perfect material to mastering hardware installation, every step lets you flex your creativity and sewing skills.
To make a fabric bag, select a durable yet workable fabric (canvas, denim, nylon), gather essential tools (sewing machine, rotary cutter, quality thread), choose or draft the right pattern, accurately cut and prepare pieces, assemble in logical order, reinforce with interfacing, add hardware and lining, then finish with topstitching and closures.
Let’s walk through every detail so you can craft a bag that’s just as tough, stylish, and uniquely yours.
What Fabrics and Materials Are Best for Sewing a Bag?
Choose sturdy, mid-to-heavy weight fabrics: canvas (8–12 oz), denim (10–14 oz), cotton duck (10 oz), or synthetic nylons (500–1000 D). Add interfacing, fusible fleece, and hardware like webbing straps and metal D-rings for structure and durability.
Natural vs. Synthetic Fabrics
- Canvas & Cotton Duck: 8–12 oz cotton, highly durable, easy to sew, breathable but wrinkles.
- Denim: 10–14 oz, robust and abrasion-resistant; requires heavy-duty needles.
- Linen & Corduroy: Decorative but less durable—best for light totes.
- Nylon & Polyester (500–1000 D): Water-resistant, lightweight, perfect for backpacks; slippery, needs sharp cutting tools.
Weight & Durability
| Fabric Type | Weight | Abrasion Resistance | Typical Use |
|---|---|---|---|
| Canvas (duck) | 8–12 oz (270–405 g/m²) | High | Totes, backpacks |
| Denim | 10–14 oz (340–475 g/m²) | Very High | Utility bags, satchels |
| Nylon 500 D | ~165 g/m² | Medium-High | Travel & tech packs |
| Polyester 1000 D | ~300 g/m² | Very High | Outdoor & sports bags |
Interfacings & Stabilizers
- Fusible Interfacing (Pellon 810): Medium weight for bag bodies—adds stiffness.
- Fusible Fleece: Soft structure for totes—prevents sagging.
- Heavy-Duty Canvas Lining: Sew-in for extra strength in high-stress areas (bottom panels, straps).
Hardware & Notions
- Strap Webbing: 1″ or 1.5″ polypropylene or cotton, rated to 300–500 lbs breaking strength.
- D-Rings / O-Rings: 1″–2″ metal for adjustable straps and attachments.
- Magnetic Snaps & Zippers: #5 or #8 nylon/coils for smooth operation under load.
| Hardware | Specification | Function |
|---|---|---|
| Webbing Strap | 1″ polypropylene | Carrying strength 300 lbs |
| Metal D-Rings | 1″ stainless steel | Strap adjustability |
| Zippers (#5, #8) | Coil/Metal | Smooth operation, durability |
| Magnetic Snaps | 20 mm diameter | Quick-open closures |
Material Sourcing Tip
- For premium custom colors or technical textiles, Szoneier offers low-MOQ sourcing from certified mills, ensuring consistent quality without giant minimums.
Which Tools and Supplies Do You Need to Make a Fabric Bag?
Essential tools include a sturdy sewing machine (capable of straight and zigzag stitches), 90/14 jeans needles, rotary cutter, self-healing mat, rulers, tailor’s chalk, heavyweight thread, and basic notions like clips, pins, and seam sealant.
Cutting & Marking
| Tool | Purpose |
|---|---|
| Rotary Cutter | Fast, accurate cuts in layered fabric |
| Self-Healing Mat | Protects blade, extends cutter life |
| Quilter’s Ruler | Precise 45°/60° cuts, square corners |
| Tailor’s Chalk | Temporary markings, brushes off easily |
Machine & Needle Setup
- Machine: 350+ spm, minimum 1 HP motor.
- Needles: 90/14 or 100/16 jeans/denim, leather needle if adding PU accents.
- Presser Feet: Walking foot for layers; Teflon foot for slick synthetics; edge-stitch foot for precise topstitch.
Thread & Stitching Supplies
- Thread: Bonded nylon or polyester, 40 wt for seams, 30 wt for decorative topstitch.
- Seam Sealant: Fray Check on raw edges to prevent unraveling.
Hardware Install Tools
- Rivet Setter / Hammer: For metal rivets and snaps.
- Awl / Punch: Creates clean holes for hardware.
- Binder Clips: Replace pins for thick fabric stacks.
Workspace Essentials
- 6 × 3 ft Table: Full pattern layout space.
- Daylight LED Lamp: Prevents eye strain and ensures accurate color matching.
- Storage Bins: Sort and organize small parts—avoids lost hardware.
How Do You Draft or Choose the Right Bag Pattern?
Select a pattern based on bag style,tote, crossbody, backpack,or draft your own by scaling a master template. Consider dimensions, seam allowances, pocket placements, and interfacing needs. Digital PDF patterns or Pro CAD files simplify prototyping.
Commercial vs. Custom Patterns
- Commercial (PDF/Printed): Tested, includes step-by-step instructions; some require taping pieces together.
- Custom Drafting: Use grid paper to sketch base rectangle + gussets; add ease and seam allowances (½”–¾”).
Pattern Components
| Component | Detail |
|---|---|
| Grain Lines | Align panels for strength & drape |
| Seam Allowance | ½”–¾” on body seams; 1″ on straps |
| Pocket Templates | Add external/internal storage options |
Sizing for Volume
- Tote (10 L): 15″ × 14″ body, 4″ gussets.
- Messenger (20 L): 18″ × 12″, 6″ gussets.
- Backpack (30 L): 20″ × 16″, 7″ gussets.
Digital Tools
- CAD Drafting: AutoCAD or Illustrator for precise scaling and adjustments—no taping required.
- Plotter Output: Large-format prints ensure pattern accuracy, ideal for factory prototyping.
Prototype & Fit Test
- Muslin Mock-up: Sew in inexpensive muslin to check dimensions and ergonomics before cutting final fabric.
- User Feedback: Test pocket placement, handle height, and closure ease.
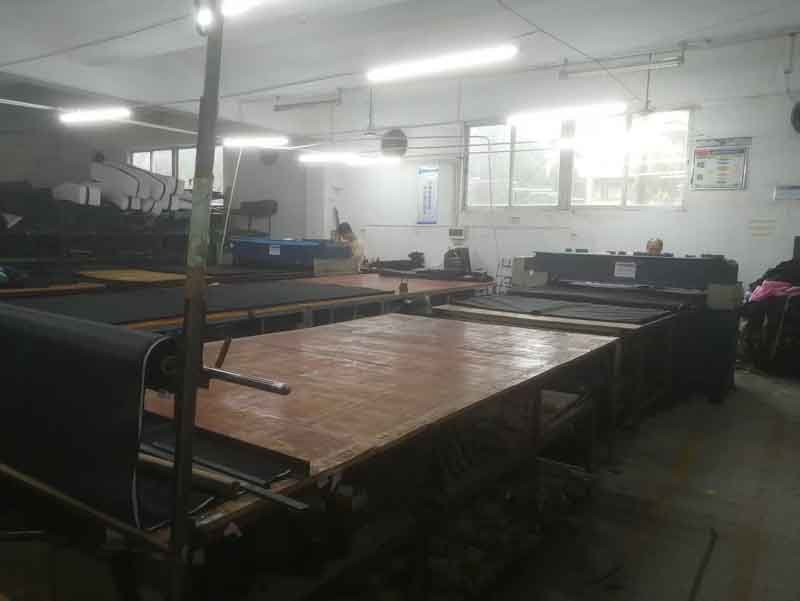
How Is the Fabric Cut and Prepared for Construction?
Pre-wash/pre-shrink fabric, iron flat, accurately align with grain, lay out pattern pieces with minimal waste, mark cutting lines with chalk or marker, then cut cleanly with rotary cutter or sharp shears.
- Pre-Wash & Shrinkage
- Why: Removes sizing chemicals, prevents later distortion; especially critical for natural fibers (canvas, denim).
- Method: Machine wash cold, tumble dry low or air dry; press with steam iron.
- Grain Alignment & Layout Layout Method Waste % Grain Accuracy Notes Traditional Layout 20–25% High Manual placement Computerized Nesting 5–10% Very High CAM software optimizes cuts
- Marking & Cutting Techniques
- Chalk vs. Marker: Chalk brushes off; water-soluble pens rinse out.
- Rotary Cutter: Best for straight lines and curves; use fresh blades for crisp edges.
- Shears: Heavy-duty shears for thick layers; keep separate from paper cutting.
- Edge Treatment
- Pinked Edges: Scalloped shears reduce fraying on single-layer cuts.
- Seam Sealant Application: Light coat along cut edges to minimize fray before assembly.
- Batch Preparation
- Bulk Layer Cutting: Stack 2–4 layers for identical pieces—ensures consistency.
- Quality Check: Lay cut pieces flat, compare against pattern to catch miscuts early.
How Do You Assemble and Sew Your Fabric Bag Step by Step?
Start by installing pockets and attaching interfacing, sew main body seams (side, bottom, gussets), reinforce stress points with bartacks, stitch in handles or straps, add lining and closures, then trim and topstitch for clean, durable edges.
Step 1: Install Pockets & Hardware Base
- Exterior Pockets: Topstitch pocket edges, add zipper or flap before main assembly.
- Hardware Placement: Mark and baste D-rings, strap anchors, and handle tabs.
Step 2: Sew Main Body Seams
| Seam Order | Purpose |
|---|---|
| Side Seams | Joins front & back panels |
| Bottom Seams | Secures base gusset |
| Gusset Seams | Creates 3D shape; box corners optional |
Technique: Use ½” seam allowance for cotton; ¾” for multi-layer nylon; overlock or zigzag finish raw edges.
Step 3: Attach Straps & Handles
- Reinforcement: Bartack at stress points; use bartack foot or manually zigzag 3–4 times.
- Adjustable Straps: Slide webbing through tri-glide buckles; heat-seal cut ends to prevent fray.
Step 4: Insert Lining
- Lining Construction: Mirror outer bag assembly but omit interfacing.
- Bag-in-Bag Method: Sew lining to top opening, then turn right-side-out through gap in lining, hand-stitch gap closed.
Step 5: Add Closures & Finish Topstitching
- Closures: Magnetic snaps, zippers, or drawstrings per design.
- Topstitching: 1/8″ from edge for strength and polished look; use topstitch thread and appropriate presser foot.
Step 6: Final Trims & Quality Check
- Trim Threads: Clean all loose ends.
- Inspect Seams: Check for skipped stitches or puckering.
- Press Seams: Use steam iron cautiously—steam-only; no direct soleplate contact on synthetics.
Are There Special Techniques to Add Structure and Durability?
![/fÕ׺?r¿Ü&a¶ªÜÇvÇ7Üwïõ?eu üí¿e"ÑÞhèÃĤ7fºyr襥7)Êd aénê¸ Ùxúwþvµhðt!»®ôÑÜæcü´ÿÿÕ×wwõÃ5ñ¥ÕÑhÿ3ÐÿÝuÐyþ31}.±÷ÕaÇ ßsÝk ô7ØÜzlÿ¡é:þ¡Úv8<;éïÿ¾©ähÔcrã°w í"be~ÞkÐÇvæÜæÿt~oøfxq4jt*0Çeiììyb#t fÑ<ë¯ÜðßâubñávasÜ~â&~ô7e]}/9^êËhÝ¢(kj«Ý tøꮸh
{añÓÜ|p²kk+.ñ þä@<t2dÔØýoi rºe9piÓr()dÇê.!%12¯ý[¾²ôx9ø ÿÛÕ,ç[½þʹÀ¸³lÿ+tü¡%'fkl1ô?q3¼hñþz
ä@~îüqþj½&óôå ®þÖÍqØ$
ãÙ12Øù'¶¤ >jú?vê÷0ø
léÙ=?ôÄ6sço2 hsÊjx ªÝõ§£û½aû Ëjè>¡ádåýmé¾
n±¸÷¶ëÐhcíö»èÖßÍ÷¢ÿ×õt](https://szoneier.com/wp-content/uploads/2025/05/4-Foldable-Travel-Bag.jpg)
Add fusible or sew-in interfacing, quilt with foam, apply box corners or double-stitch high-stress areas, install plastic or cardboard bottom inserts, and use binding tape on raw edges to ensure a bag stands up to heavy use.
- Interfacing & Stabilizing Layers Stabilizer Type Application Rigidity Level Fusible Woven Iron-On Entire body panels Medium Sew-in Canvas Bottom, sides High Foam-Fleece Layer Front/back panels Medium-High
- Boxed Corners & Gussets
- Technique: Sew square at bottom corners, trim to ½” and turn right-side-out—creates flat base.
- Variations: Rounded corners for aesthetics; stitched diamond gussets in duffels.
- Reinforced Stitching
- Double-Stitching: Parallel rows of straight stitch on seams under tension.
- Bartacks: ¼” zigzag stitch repeated 3–5 times on strap connections, pocket corners.
- Bottom & Side Panels
- Removable Inserts: 3–5 mm plastic, cork, or cardboard cut to base shape—slides into bottom pocket.
- Fixed Inserts: Sewn-in plastic canvas for permanent structure.
- Edge Binding & Piping
- Bias Tape: Encases raw seams for neat finish and extra durability.
- Piping: Decorative cord encased in bias adds crisp outline and strength.
How Do You Finish and Customize Your Fabric Bag (Hardware, Linings, Closures)?
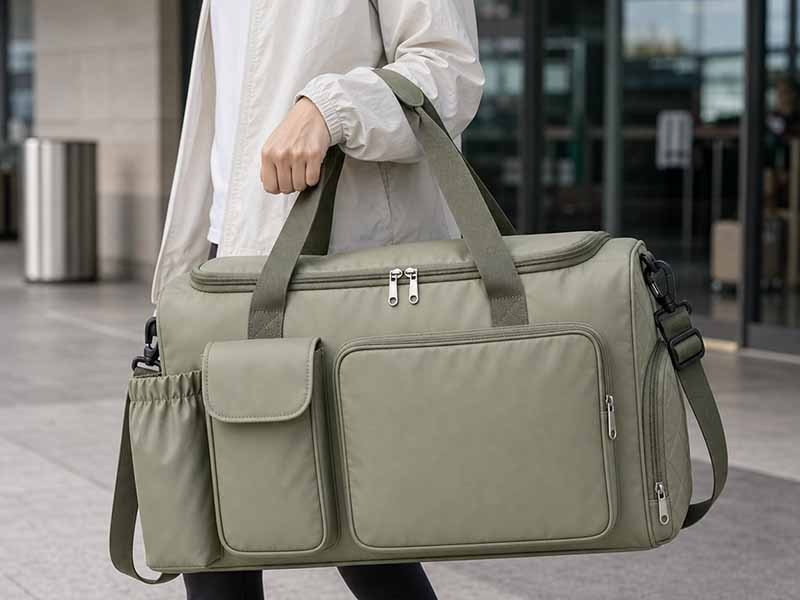
Customize with zippers, magnetic snaps, buckles, and toggles. Choose linings for style/function—water-resistant nylon or cotton prints. Add leather or vegan leather trims, embossed labels, and topstitch details to reflect your brand or personal flair.
Hardware Selection
| Hardware Type | Aesthetic | Function |
|---|---|---|
| Metal Zippers | Industrial chic | Secure closure |
| Magnetic Snaps | Minimalist look | Quick access |
| Buckles & Toggles | Outdoor vibe | Adjustable straps |
| D-Rings & Hooks | Modular add-ons | Attach pouches, keys |
Lining Options
- Printed Cotton: Adds personality, easy to sew, breathable.
- Nylon Taffeta: Water-resistant, smooth, slippery for easy access.
- Quilted Lining: Provides extra cushioning for tech gear.
Branding & Labeling
- Leather/PU Patch Labels: Emboss or foil-stamp logos for premium feel.
- Woven Tags: Colorfast, durable—sewn into side seams.
- Heat-Transfer Prints: Cost-effective for small runs; limited durability.
Decorative Techniques
- Topstitching Patterns: Contrast thread for geometric designs.
- Appliqué & Embroidery: Personal motifs—machine or hand stitched.
- Piping & Trim: Highlights edges, adds pop of color.
Closure Mechanisms
- Zipper Types: Coil (#5–#10), molded plastic (#8), metal (#5) depending on style.
- Drawstrings & Cord Locks: Casual tote or gym bag vibe.
- Snap Fasteners: Non-metal options for corrosion resistance.
How Do You Care for and Maintain Your Finished Fabric Bag?
Spot clean with mild soap, machine-wash cotton totes on gentle cycle, air-dry flat; brush canvas to remove dirt, apply fabric protector sprays, and store empty in dust bag away from direct sunlight to prevent fading and mold.
- Cleaning by Fabric Fabric Type Cleaning Method Frequency Canvas/Denim Soft brush + mild detergent; air dry Monthly or as needed Nylon/Polyester Gentle machine wash; hang dry Quarterly Faux Leather Trim Wipe with damp cloth; leather conditioner Biannually Cotton Prints Cold wash; avoid bleach Per wear
- Protective Treatments
- Fabric Spray (e.g., Scotchgard): Repels water & stains; reapply every 3–6 months.
- Leather Conditioner: For trims—prevents cracking, keeps supple.
- Storage Solutions
- Dust Bag: Breathable cotton or muslin bag prevents dust accumulation.
- Shape Maintenance: Stuff with acid-free tissue paper; store upright to avoid crushing.
- Repair & Upkeep
- Loose Threads: Trim, then secure ends with a tiny drop of fabric glue.
- Minor Tears: Patch inside with matching fabric and topstitch.
- Hardware Days: Check buckles and zips quarterly; tighten screws or replace sliders.
Ready to Bring Your Fabric Bag Ideas to Life with Szoneier?
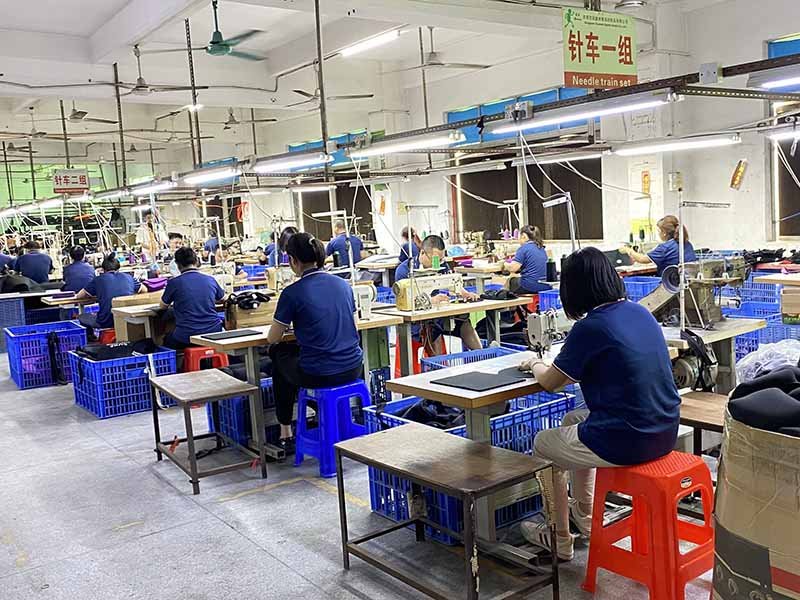
With over 18 years of experience in bag R&D and manufacturing, our China-based factory offers:
- Free design support to nail your concept
- Low MOQs starting at just 100 pcs
- Rapid sampling in 5–7 days so you can test the market fast
- 100% quality assurance through every production run
Whether you’re after heavy-duty canvas totes, sleek tech backpacks in 500D nylon, or printed cotton shopper bags, we’ll source the right materials, fine-tune your pattern, and handle all the hardware, lining, and finishing details.