Skip to content
How to Test a New Bag Design Before Production
- Review the design and technical specifications
- Build and inspect a production-grade prototype
- Test materials, seams, straps, zippers, and functions
- Revise failed details before approving bulk manufacturing
What Testing a New Bag Design Really Means
Bag design testing connects a product concept with measurable construction, use, performance, and manufacturing requirements before the approved design enters production.
Design Validation
- Confirm external and usable internal dimensions
- Check pocket locations and opening widths
- Review center of gravity and carrying direction
- Identify details that may be difficult to sew consistently
Prototype Inspection
- Measure the completed sample
- Compare materials and accessories
- Review stitching, binding, and edge finishing
- Photograph deviations and assign revision actions
Performance Testing
- Apply an agreed load
- Inspect handles and strap anchors
- Cycle zippers, buckles, and closures
- Evaluate product-specific functions
Production Validation
- Approve the final material set
- Seal the pre-production sample
- Record the BOM and workmanship standard
- Define in-line and final inspection points
Who Should Test a New Bag Design
Established Bag Brands
Product Development Teams
E-Commerce Brands
Retail Programs
Functional Product Brands
Independent Designers
Why Visual Approval Is Never Enough
Wrong Usable Capacity
- Pack the exact target contents
- Measure internal usable space
- Check whether items can be removed easily
- Confirm the bag closes without distortion
Weak Stress Points
- Inspect stitch direction and seam allowance
- Check reinforcement layers
- Test strap anchors and D-rings
- Review bottom-to-handle load transfer
Difficult Daily Access
- Observe users packing the bag
- Test one-hand opening where relevant
- Check access while worn
- Record repeated handling problems
Unstable Bag Shape
- Test empty and fully loaded conditions
- Compare front, side, and top views
- Review gusset balance
- Inspect deformation after storage
Poor Component Matching
- Confirm zipper gauge
- Check buckle and webbing width
- Test hook movement
- Review plating and corrosion risk
Production Variability
A hand-finished development sample may require skills or time that cannot be maintained across a commercial order. Complex curves, tight binding, hidden seams, thick layer stacks, and difficult logo placement may create variation.
- Review assembly sequence
- Confirm machine accessibility
- Set measurable workmanship limits
- Build a pre-production sample
Define the Product Before Running Any Test
Target User
- Define the primary user group
- Note body-size variation
- Identify left- or right-hand use
- Record common carrying duration
Intended Use
- Describe the main task
- List secondary uses
- Identify operating frequency
- Record any misuse that can reasonably occur
Packed Contents
- List every required item
- Record each item’s dimensions
- Note fragile or leak-sensitive contents
- Define required separation and access order
Target Load
- Define normal loaded weight
- Define occasional peak load
- Identify concentrated heavy objects
- Record carrying duration
Use Environment
- Indoor or outdoor use
- Dry, humid, or wet exposure
- Smooth or abrasive surfaces
- Temperature and storage conditions
Required Dimensions
- Use width × height × depth
- Define measurement points
- Record strap adjustment range
- Identify critical fit dimensions
Sales Channel
- Define sales country
- Identify channel packaging rules
- Confirm labeling requirements
- Record warehouse or FBA needs
Product Claims
- Separate appearance from performance claims
- Define the test method
- Identify third-party needs
- Approve wording after results
Testing Priorities for Common Custom Bag Categories
Different bag types fail in different ways. Testing should focus on the use risks, construction details, and performance claims relevant to each product.
| Bag Type | Common Size Range | Main Design Risks | Priority Tests | Typical Approval Evidence |
|---|---|---|---|---|
| Backpack | 35–55 cm high | Strap discomfort, anchor failure, poor balance, limited access | Load, strap anchors, back panel, zipper path, user trial | Approved sample, load record, measurement sheet |
| Tote Bag | 30–50 cm wide | Handle failure, bottom sagging, seam opening | Handle pull, bottom support, seam review, capacity | Load photos, seam standard, sealed sample |
| Cooler Bag | 20–50 cm wide | Leakage, weak insulation, difficult cleaning | Lining check, closure, insulation trial, load | Functional record, material specification |
| Cosmetic Bag | 15–35 cm wide | Staining, zipper problems, shape loss, poor finishing | Zipper cycling, lining, shape, logo, finish | Detail photos, approved color and logo |
| Tool Bag | 30–60 cm wide | Concentrated load, abrasion, hardware failure | Static load, base support, pocket load, handle test | Load log, reinforcement record |
| Pet Carrier | 35–55 cm long | Poor ventilation, unstable base, escape risk | Mesh, base, opening, safety clip, use trial | Safety review, approved construction |
| Travel Duffle | 40–75 cm long | Handle stress, zipper strain, handling damage | Load, zipper, abrasion, shoulder strap, drop | Test log, sealed sample |
| EVA Case | Product-specific | Poor fit, weak protection, zipper distortion | Fit, insert retention, compression, impact | Fit sample, drop record, approved insert |
Nine Steps to Test a New Bag Design
Define Requirements
Review Specifications
Select Materials
Build Prototype
Inspect Construction
Run Functional Tests
Conduct User Trials
Revise and Retest
Approve Production
Seal the final pre-production sample, BOM, dimensions, logo, packaging, workmanship standard, and inspection requirements before commercial manufacturing starts.
Review Size and Construction Before Sampling
Validate Every Critical Dimension
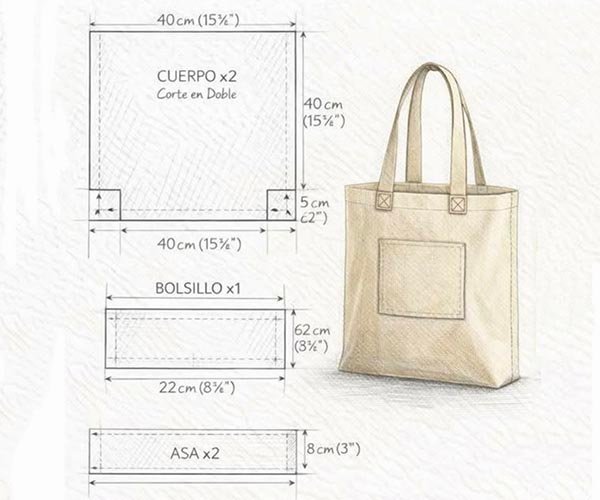
For a backpack measuring 45 × 30 × 15 cm externally, foam, lining, seam allowance, curved corners, and internal panels may reduce usable space. The test should confirm whether the intended laptop, clothing, bottle, charger, and accessories can be packed without forcing the zipper or distorting the shell.
Recommended review actions include:
- Measure the sample on a flat surface using defined reference points
- Record external and internal dimensions separately
- Use the actual intended contents during capacity review
- Check whether openings are large enough for the biggest item
- Confirm pocket depth after seam allowance and binding
- Measure both shoulder straps at equal adjustment positions
- Check symmetry between left and right panels
- Record tolerances by feature rather than using one tolerance for every dimension
- Target external size: 45.0 × 30.0 × 15.0 cm
- Measured sample: 44.8 × 30.2 × 15.1 cm
- Target laptop sleeve: 35.0 × 25.0 cm usable
- Measured sleeve: 34.2 × 24.7 cm usable
- Decision: external shell accepted; sleeve opening requires adjustment
Review Manufacturing Feasibility
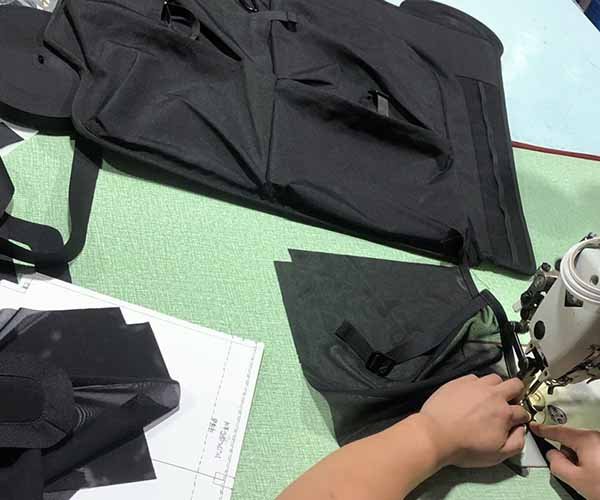
A design can look correct in a rendering while remaining difficult to sew repeatedly. Tight curves, narrow seam allowances, thick foam stacks, inaccessible corners, short zipper ends, overlapping bindings, complex lining turns, and logo placements near seam lines may produce unstable workmanship.
Szoneier reviews the proposed construction before and during sampling to identify details such as:
- Whether the selected fabric can hold the intended shape
- Whether the seam allowance supports the required reinforcement
- Whether foam thickness creates difficult layer stacks
- Whether a zipper can follow the proposed curve smoothly
- Whether webbing anchors transfer load into the main structure
- Whether an internal divider can be installed without pulling the lining
- Whether the logo remains centered after sewing and shaping
- Whether operators can reach every seam with suitable equipment
- Whether the assembly order supports consistent inspection
Manufacturing review does not remove creative details automatically. The goal is to preserve the intended appearance and function while selecting construction methods that can be repeated across 500, 2,000, or 10,000 units.
How to Inspect the First Bag Prototype
Dimensions
- Compare results with the latest specification
- Mark every critical dimension
- Record deviations instead of relying on memory
- Recheck after loading when shape affects measurement
Shape and Proportion
- Photograph empty and loaded conditions
- Check left and right symmetry
- Review wrinkles and panel tension
- Compare with the approved rendering
Capacity
- Use the target loadout
- Record unused and restricted space
- Test full closure
- Confirm items remain organized during movement
Opening Access
- Open with one and two hands
- Check zipper pull clearance
- Confirm openings do not collapse
- Identify conflicting straps or flaps
Pocket Layout
- Test each assigned item
- Check elastic recovery
- Review pocket angle
- Confirm divider and sleeve retention
Straps and Handles
- Check adjustment at minimum and maximum
- Carry the loaded bag
- Inspect twisting and slipping
- Review stress around attachment seams
Zippers and Hardware
- Inspect zipper ends
- Check slider clearance
- Confirm webbing width matches hardware
- Review plating scratches or sharp edges
Logo and Branding
- Compare with approved artwork
- Measure placement from fixed seams
- Photograph under neutral light
- Check abrasion and flexing risk
Stitching and Finish
Inspect stitch density, skipped stitches, loose threads, seam alignment, binding, edge paint, glue marks, lining tension, puckering, reinforcement, and internal cleanliness.
- Review high-stress seams first
- Check hidden internal areas
- Confirm reinforcement locations
- Record workmanship limits for production
Test Materials Before Freezing the Construction
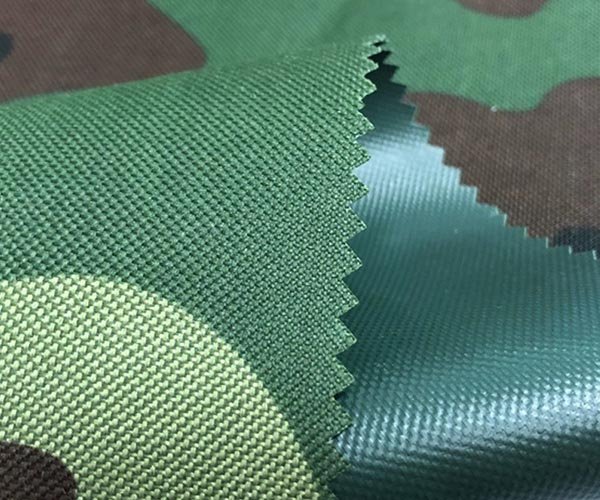
Polyester
- Compare proposed denier and backing
- Check coating cracks after folding
- Review print and logo adhesion
- Test seam appearance after loading

Nylon
- Confirm exact nylon specification
- Review surface abrasion
- Check coating and water resistance
- Test color variation between lots

Oxford Fabric
- Review 300D, 600D, 900D, or 1680D options
- Compare stiffness and weight
- Test loaded seam behavior
- Check coating compatibility
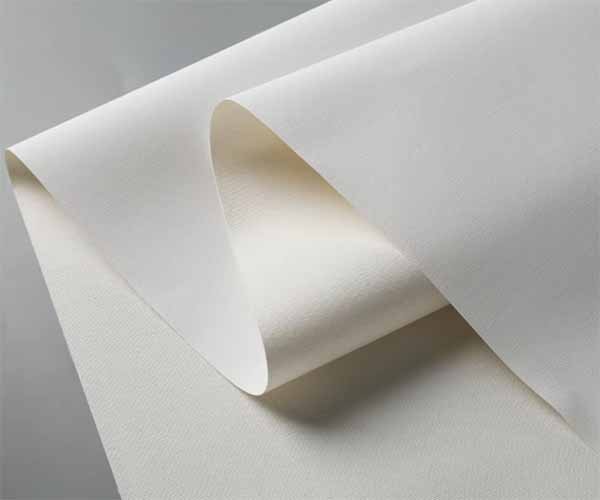
Canvas and Cotton
- Confirm fabric weight and finish
- Review washing expectations
- Check color rubbing
- Test embroidery and screen printing
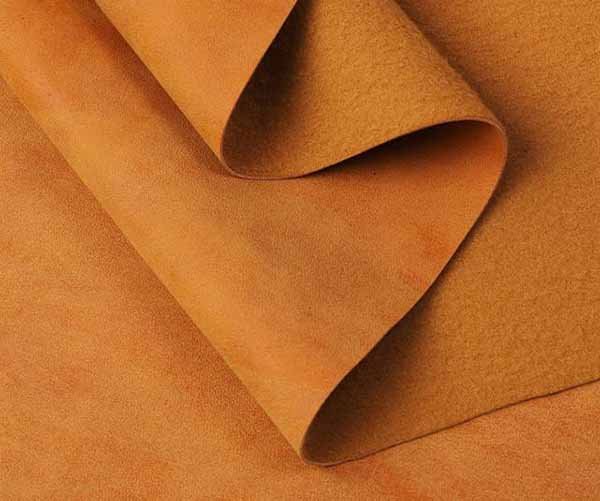
PU and Leather
- Review flex points
- Check edge paint or folding
- Confirm needle and thread selection
- Inspect hardware contact areas
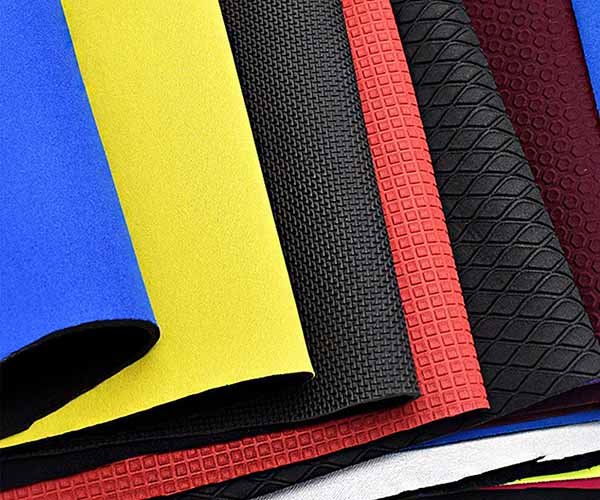
Neoprene
- Confirm thickness and laminated face
- Check compression recovery
- Review bonded and stitched seams
- Test printed logo stretch
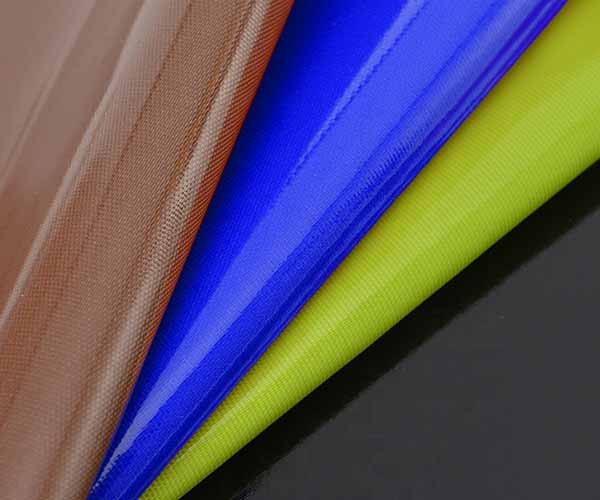
PVC and TPU
- Review folding marks
- Check transparency and surface scratches
- Test welded or stitched seams
- Protect surfaces during packing
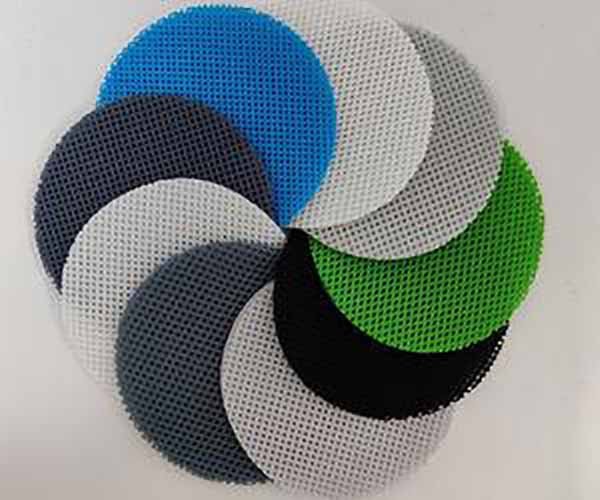
Linings and Foams
- Confirm density and thickness
- Check recovery after compression
- Review bonding and lamination
- Test compatibility with outer fabric
Validate Every Component Before Final Sample Approval
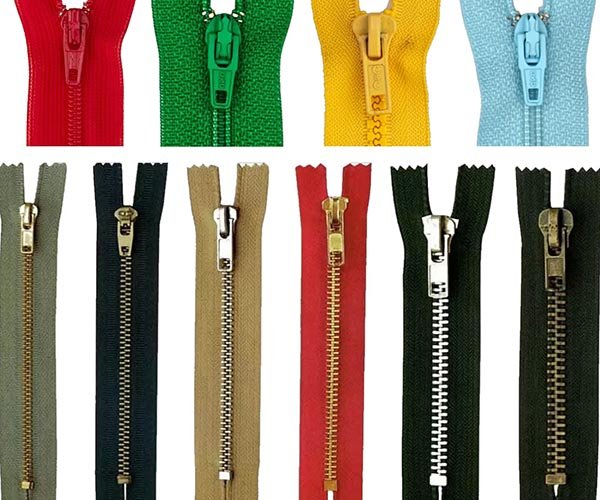
Zipper Selection
- Test full opening repeatedly
- Inspect both zipper ends
- Check tape puckering
- Confirm slider and puller compatibility

Webbing Performance
- Measure width and thickness
- Test adjuster holding power
- Inspect edge abrasion
- Review stitch penetration
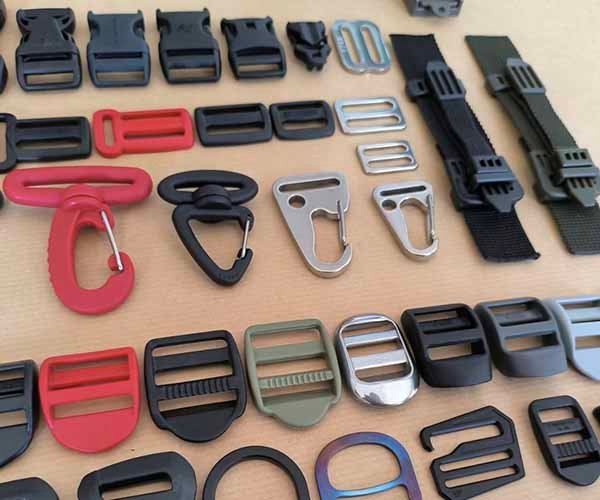
Buckles and Adjusters
- Cycle each mechanism
- Test with selected webbing
- Check sharp edges
- Confirm load direction
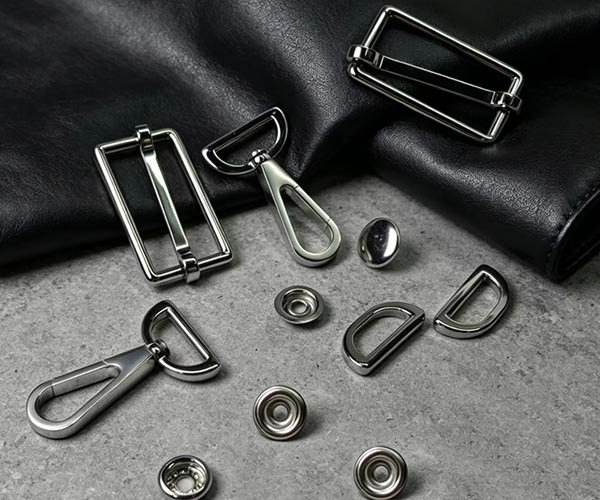
Metal Hardware
- Inspect welds and gaps
- Check plating consistency
- Test rotating parts
- Protect hardware during packing
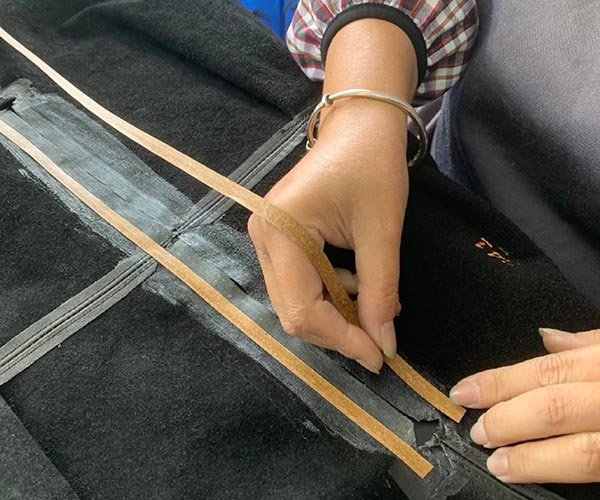
Reinforcement Materials
- Identify every load path
- Record reinforcement size
- Check hidden attachment
- Include details in the BOM
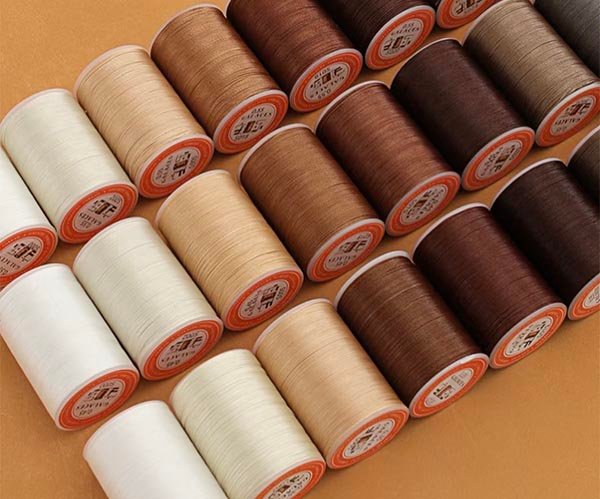
Thread and Binding
Thread strength, color, thickness, stitch density, binding width, edge coverage, and needle selection influence appearance and seam reliability. Thick material stacks may require a different thread and machine setup.
- Approve thread color
- Review stitch density
- Inspect binding coverage
- Check skipped stitches on thick areas
Test Logo Solutions on the Actual Bag Material

Screen Printing
- Check ink coverage and edge definition
- Confirm Pantone reference
- Test adhesion on coated fabrics
- Review cracking at folds and seams
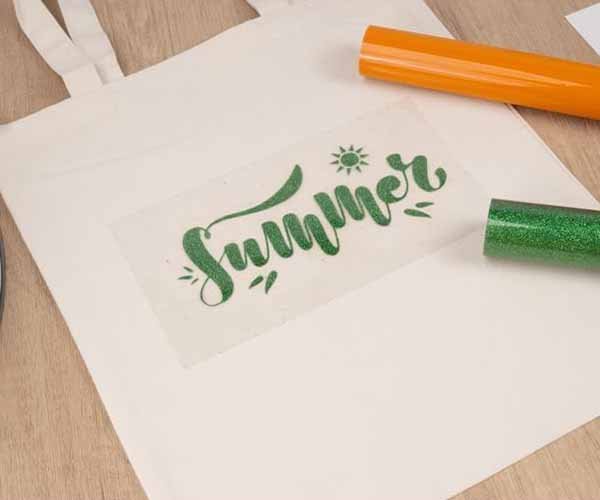
Heat Transfer
- Test on production fabric
- Check edge lifting
- Review color change after heating
- Avoid high-flex or heavily textured areas

Embroidery
- Approve embroidery file
- Check backing visibility
- Review small lettering
- Inspect fabric distortion
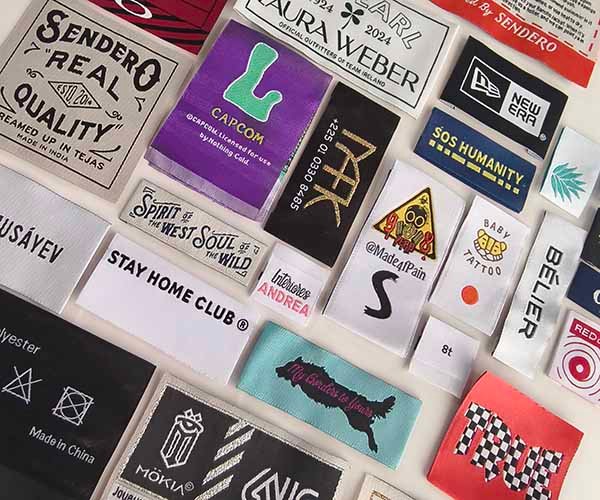
Woven Labels
- Review label size
- Confirm fold and seam allowance
- Check fraying and edge comfort
- Approve position on the sample
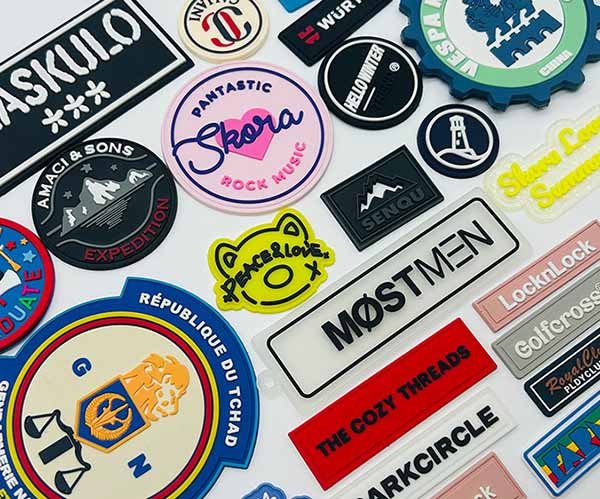
Rubber or TPU Patches
- Confirm molded artwork
- Test sewing or bonding
- Review edge thickness
- Check flexing on curved panels
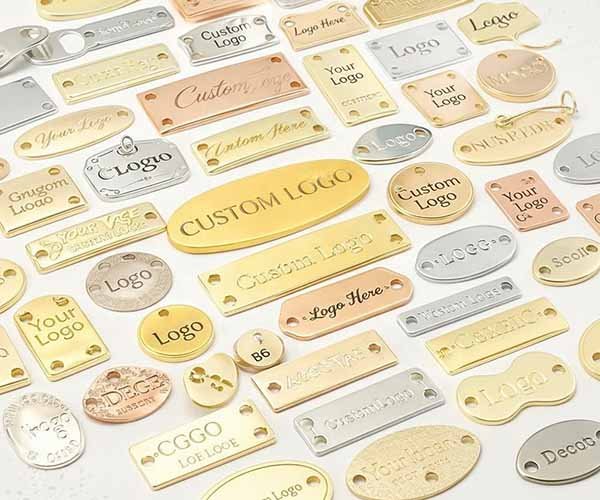
Metal Logo Plates
- Approve plating color
- Check pin and backing locations
- Inspect fabric deformation
- Protect the plate during shipping
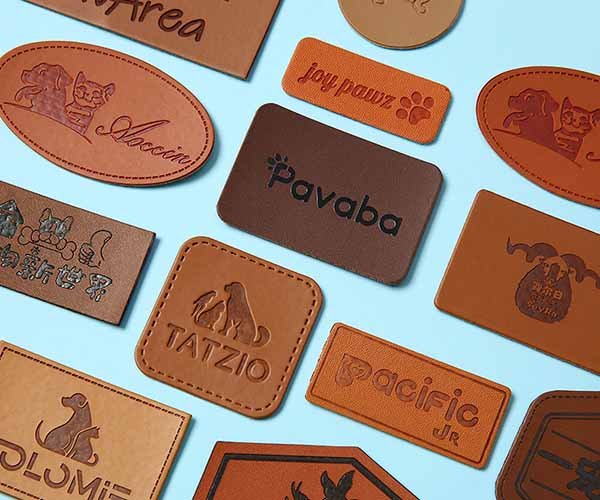
Debossing and Foil
- Sample the final material
- Confirm die dimensions
- Review depth and edge clarity
- Test flexing around the mark
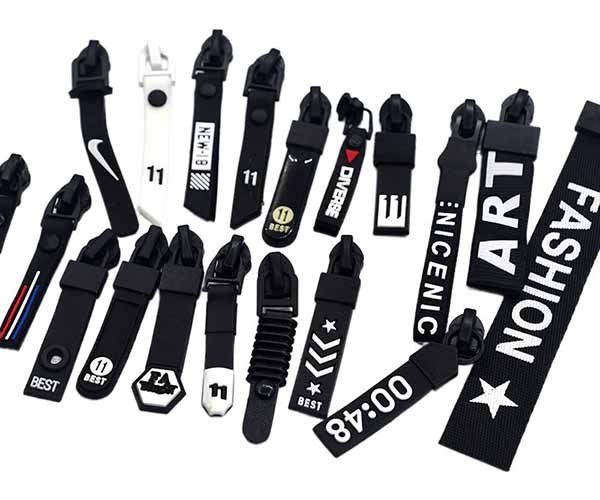
Custom Pullers and Webbing
- Approve artwork and mold
- Confirm hardware dimensions
- Match zipper and webbing systems
- Record components in the BOM
Logo File Requirements
Provide vector artwork in AI, EPS, SVG, or editable PDF format, along with Pantone references, finished dimensions, placement measurements, and preferred branding method. Raster previews can support discussion but should not replace production artwork. CTA Button: Test My Logo
Test Load-Bearing Points and Structural Strength
Static Load Test
- Use distributed or concentrated loads as required
- Record weight and duration
- Photograph before and after
- Recheck dimensions after unloading
Handle Pull Test
- Test both handles together and separately
- Inspect seam opening
- Check fabric tearing near anchors
- Review handle shape after loading
Shoulder Strap Test
- Use the intended strap angle
- Test adjustable positions
- Check hook rotation
- Inspect padding compression
Seam Strength Review
- Inspect stitch density
- Check seam allowance
- Review bartacks and box stitches
- Examine hidden reinforcement
Bottom Support Test
- Load the intended objects
- Place the bag on rough and smooth surfaces
- Inspect board movement
- Check corner wear points
Hardware Load Test
- Load in the operating direction
- Check release and slippage
- Inspect welds and pins
- Review surrounding fabric deformation
Zipper Stress Test
- Pack the target contents
- Open and close under load
- Inspect zipper ends
- Check tape seam movement
Drop and Handling Test
- Inspect shell and seams
- Check internal protection
- Review hardware damage
- Retest closures after impact
Test the Bag Under Real Use Conditions
Packing Trial
- Record packing order
- Note items that do not fit
- Observe forced or unnatural placement
- Photograph the final loadout
Access Trial
- Time critical access where relevant
- Note blocked openings
- Observe one-hand use
- Check whether contents spill or shift
Carrying Comfort
- Check short and extended carrying
- Use representative body sizes
- Inspect pressure areas
- Record strap adjustments
Weight Balance
- Pack heavy items in intended locations
- Walk, turn, bend, and climb where relevant
- Observe center of gravity
- Review divider and pocket placement
Movement Trial
- Check strap movement
- Observe loose ends
- Inspect zipper creep
- Review collision and snag points
Feature Discovery
Avoid explaining every pocket and function before the first trial. Features that cannot be understood by representative users may need clearer placement, shape, labeling, or construction.
- Observe first-use behavior
- Ask participants to describe expected functions
- Separate confusion from personal preference
- Record repeated issues across participants
Match Functional Tests With Product Claims
Water Resistance
Lining Leakage
Insulation Performance
Abrasion Resistance
Color Fastness
Ventilation
Impact Protection
Special Safety Claims
Fire resistance, RFID shielding, child safety, chemical resistance, food contact, and regulated performance claims may require independent laboratory methods and formal reports.
Set Pass Criteria Before Starting the Tests
A useful test record states what was tested, how the test was performed, the acceptance condition, the evidence collected, and the required action after failure.
| Test Item | Method | Example Acceptance Condition | Evidence | Action After Failure |
|---|---|---|---|---|
| External dimensions | Measure defined points | Within agreed feature tolerance | Measurement sheet | Correct pattern or sewing guide |
| Capacity | Pack listed contents | All items fit and remain accessible | Packing photos | Adjust dimensions or layout |
| Handle attachment | Apply agreed load | No seam opening, tearing, or permanent movement | Load log and photos | Add reinforcement or revise seam |
| Zipper operation | Repeat full opening | Smooth travel without separation or jamming | Cycle record | Change zipper, curve, or assembly |
| Logo position | Measure from fixed seam | Matches approved placement | Detail photo | Correct positioning guide |
| Water function | Use agreed exposure method | Meets defined use requirement | Test record and video | Change material, seam, or closure |
| Carrying comfort | Loaded user trial | No repeated critical discomfort | Trial notes | Change width, padding, or geometry |
| Packing condition | Pack finished sample | No damaging compression or hardware scratching | Packed sample photos | Revise packaging method |
Turn Test Findings Into Controlled Design Revisions
Safety or Structural
- Mark as mandatory correction
- Stop production release
- Identify the root cause
- Retest the complete affected structure
Functional Failure
- Record the failed task
- Photograph the condition
- Propose measurable correction
- Repeat the same test after revision
Manufacturing Risk
- Review pattern and assembly sequence
- Simplify hidden construction where possible
- Protect visible design features
- Build another production-grade sample
Experience Improvement
- Compare feedback across participants
- Prioritize repeated findings
- Preserve benefits before removing features
- Validate comfort after revision
Cosmetic Issue
- Define an acceptable visual limit
- Improve tooling or workmanship
- Update inspection references
- Approve a representative standard
Personal Preference
- Separate individual preference from repeated problems
- Check target positioning
- Review sales-channel needs
- Consider optional variants rather than redesign
Typical Development and Production Timing at Szoneier
Timing depends on material availability, structure, tooling, logo method, packaging, testing, approval speed, order quantity, and the number of revisions.
| Project Stage | Typical Timing | Main Activities | Timing Factors |
|---|---|---|---|
| Initial project review | 1–2 working days | Review files, product use, quantity, materials, branding, delivery needs | Completeness of project information |
| Regular sample | 5–7 working days | Material preparation, pattern, cutting, sewing, internal review | Available materials and mature structure |
| Complex sample | 10–15 working days | New structure, special materials, molds, multiple functions, detailed branding | Tooling, material sourcing, construction complexity |
| Urgent sample | 3–5 working days | Accelerated development for eligible projects | Material readiness and production schedule |
| Sample revision | 3–10 working days | Pattern, material, component, logo, or workmanship correction | Scope of change and new tooling |
| Pre-production sample | 5–10 working days | Final production material, branding, packaging, and workmanship confirmation | Final material and component availability |
| Regular bulk production | 20–45 days | Material preparation, cutting, sewing, QC, packing | Quantity, SKU count, logo, packaging |
| Complex bulk production | 35–60 days | Functional construction, special materials, detailed QC, multiple processes | Complexity, testing, tooling, packaging |
MOQ Guidance
MOQ starts from 200 pieces for selected products using available materials, mature structures, straightforward branding, and standard packaging. Custom-dyed fabric, molded components, custom hardware, jacquard webbing, complex backpacks, leather goods, EVA cases, or specialized packaging may require a higher quantity.
Approve the Pre-Production Sample Before Bulk Manufacturing
Final Materials
- Confirm supplier or material reference
- Approve color under neutral light
- Record thickness, weight, or density
- Prevent unauthorized substitution
Final Dimensions
- Confirm finished dimensions
- Approve feature tolerances
- Record strap and handle ranges
- Check internal usable fit
Final Structure
- Compare with approved revision notes
- Inspect hidden areas
- Confirm load paths
- Record workmanship references
Final Logo
- Seal physical logo references
- Include artwork in project files
- Record placement measurements
- Protect premium details during packing
Final Packaging
- Approve folded condition
- Confirm unit packaging
- Review carton quantity
- Check sales-channel labels
Final Test Requirements
Review every required internal check, third-party report, retail protocol, inspection method, and shipment document before production starts.
- Confirm pass criteria
- Assign responsible teams
- Set inspection checkpoints
- Resolve open test items
Control the Approved Design During Bulk Production
Approved Sample Control
- Label the sample version
- Protect it from handling damage
- Keep one internal reference
- Compare early production pieces
BOM Management
- Use exact component descriptions
- Record supplier or internal codes
- Control approved alternatives
- Update changes before production
Incoming Materials
- Compare color and surface
- Check quantity and specification
- Inspect zipper and hardware
- Isolate nonconforming materials
Cutting Control
- Confirm the latest pattern
- Label bundles by size and color
- Review high-risk panels
- Prevent mixed component lots
First Production Piece
- Measure critical dimensions
- Review logo and components
- Inspect high-stress seams
- Correct problems before full output
In-Line Inspection
- Review reinforcement
- Check pocket and zipper placement
- Inspect stitch quality
- Separate defects for correction
Change Management
- Record the proposed change
- Explain cost and performance effects
- Provide photos or a sample
- Obtain approval before use
Packing Release
- Confirm approved folding method
- Protect hardware and surfaces
- Apply labels accurately
- Verify carton quantity and marks
Inspect Quality From Materials Through Final Packing
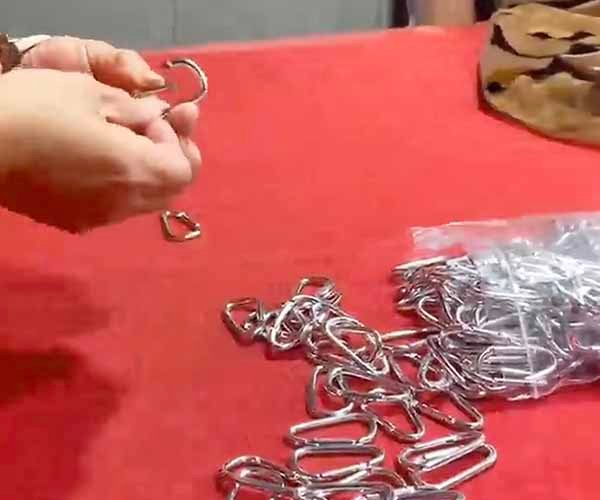
Material Inspection
- Review specification and color
- Inspect visible defects
- Confirm quantities
- Isolate rejected materials
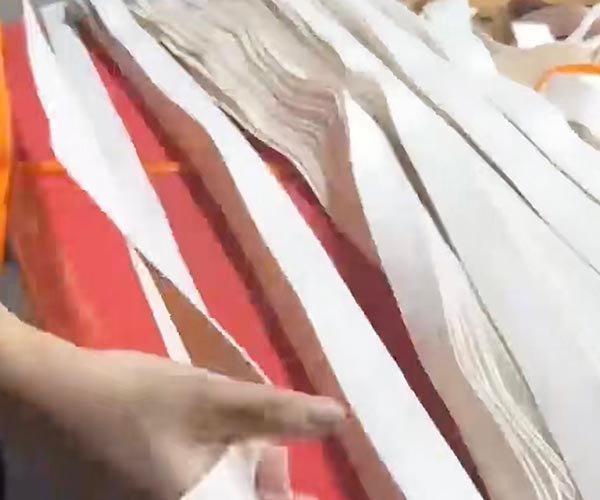
Cutting Inspection
- Confirm pattern version
- Review critical panels
- Prevent mixed colors
- Check reinforcement pieces
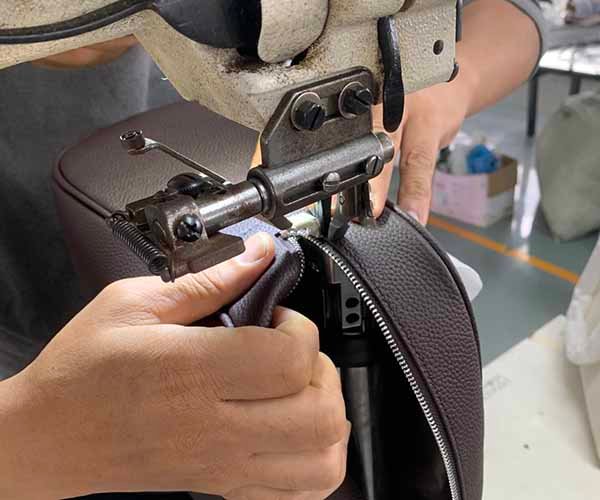
Sewing Inspection
- Catch defects before closing
- Monitor high-risk operations
- Correct process causes
- Record repeated issues
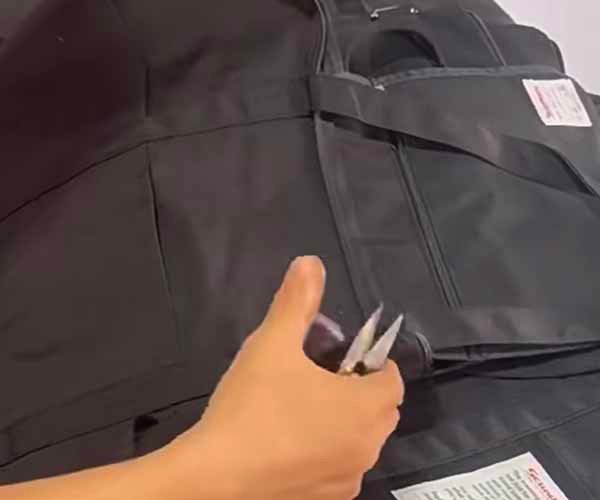
Semi-Finished Inspection
- Verify internal materials
- Check concealed seams
- Confirm component placement
- Approve before final closing
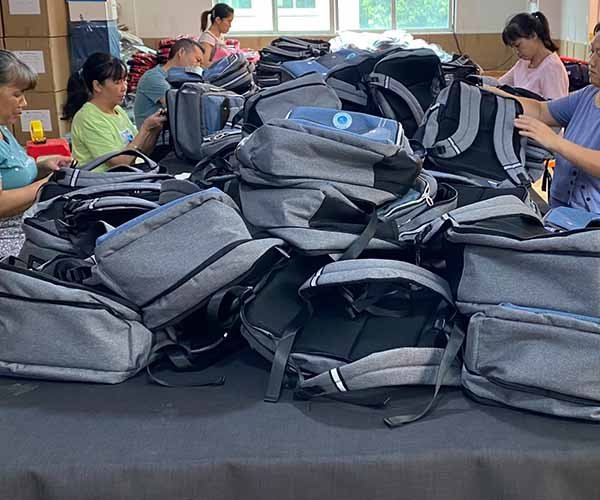
Finished Inspection
- Compare with the approved sample
- Measure critical dimensions
- Operate closures
- Inspect all visible surfaces
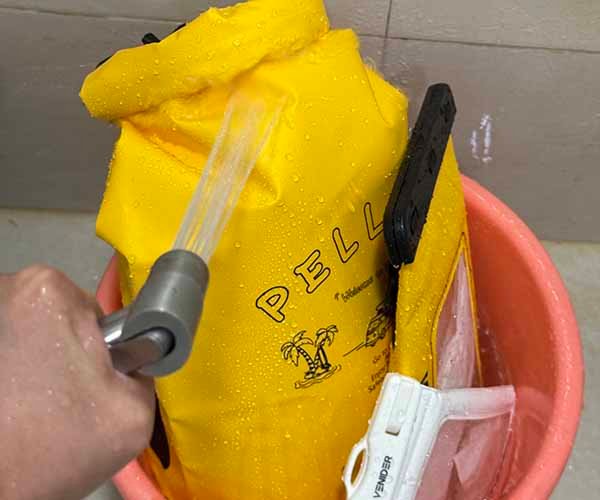
Functional Inspection
- Use defined methods
- Record results
- Separate failed units
- Investigate repeated defects
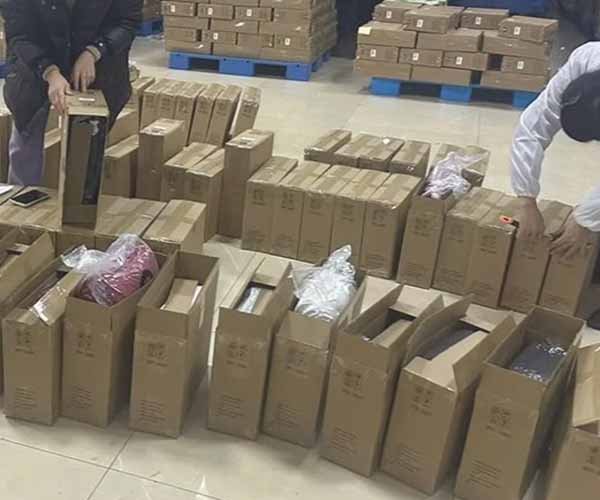
Packaging Inspection
- Confirm correct SKU
- Check label readability
- Protect product shape
- Verify carton records
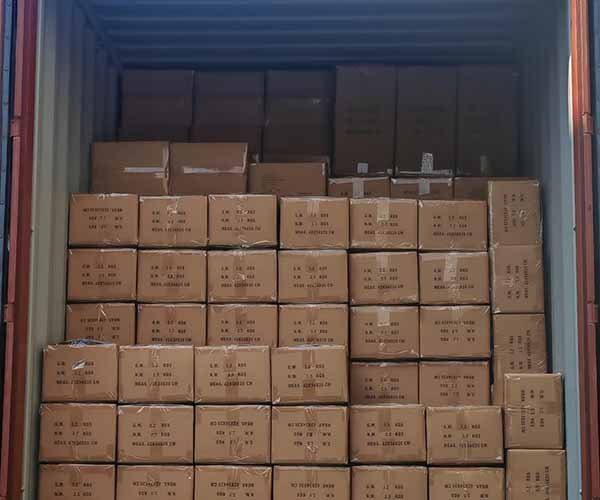
Final Release
- Review inspection status
- Confirm rework completion
- Seal accepted cartons
- Prepare shipment records
Test Packaging Before the First Commercial Shipment
Unit Protection
Shape Control
Brand Packaging
Retail Labels
FBA Preparation
Transit Trial
Pack a representative carton using the proposed quantity. Review compression, movement, corner damage, hardware contact, carton strength, and unpacking condition.
Bag Designs Improved Through Prototype Testing
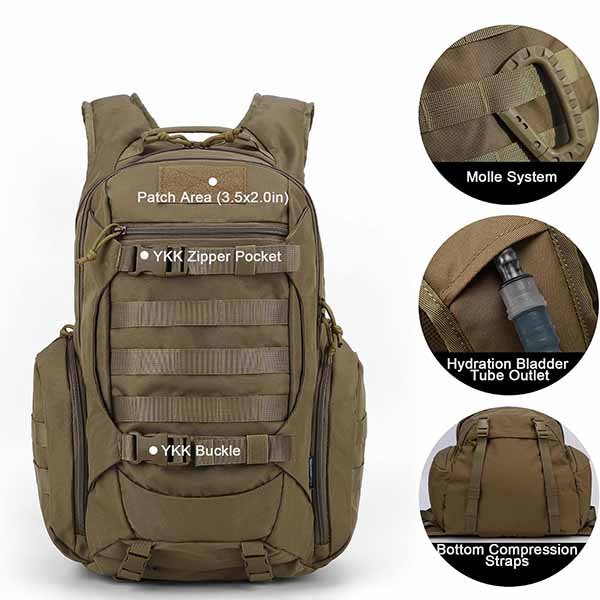
Outdoor Backpack Program
Order Quantity: 1,200 pieces
Product: 28-liter outdoor backpack
Sample Rounds: 2
Bulk Lead Time: 38 days
The first sample matched the intended appearance but created pressure near the upper shoulder strap anchor when loaded. The side zipper also became difficult to operate after the main compartment was packed.
Szoneier revised the upper reinforcement, increased the load-transfer area, adjusted the strap angle, and changed the side-opening curve. A second sample was packed with the intended outdoor equipment and carried during movement trials.
- Shoulder anchor remained stable under the agreed load
- Side opening became accessible after full packing
- Final dimensions and reinforcement were added to the BOM
- The approved sample guided in-line inspection during production
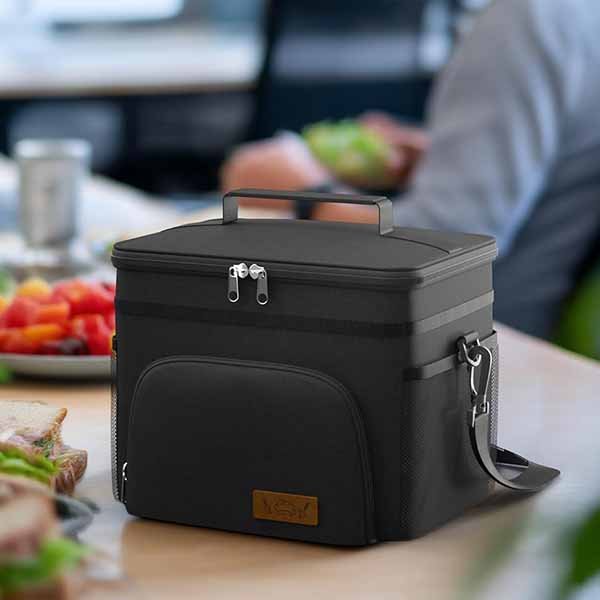
Insulated Cooler Bag
Order Quantity: 800 pieces
Product: Branded food and beverage cooler bag
Sample Rounds: 3
Bulk Lead Time: 42 days
The first sample showed lining tension at two corners, excessive foam compression near the zipper, and limited access through the upper opening. The appearance was acceptable, but repeated use could have damaged the lining seam.
Szoneier adjusted the lining pattern, changed the seam sequence, redistributed insulation around the zipper, and widened the opening without increasing the external footprint. The revised sample was checked for packing, closure, leakage risk, and shape recovery.
- Corner tension was removed
- Closure operated smoothly with full contents
- Final foam and lining specifications were recorded
- Carton packing was adjusted to prevent compression
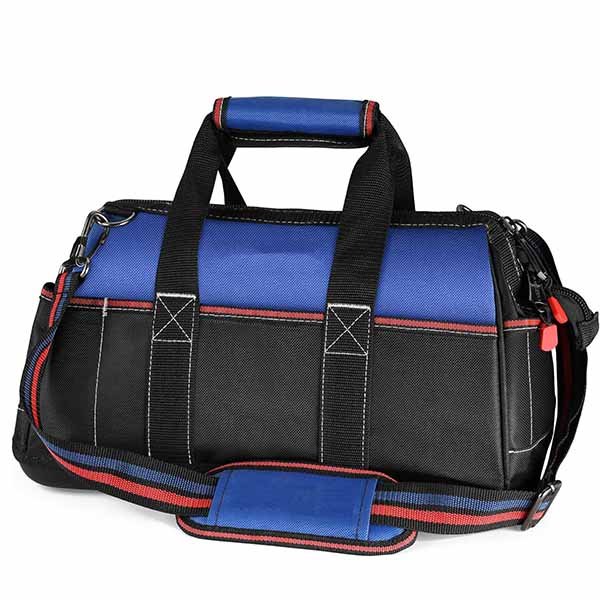
Heavy-Duty Tool Bag
Order Quantity: 2,500 pieces
Product: Reinforced technician tool bag
Sample Rounds: 2
Bulk Lead Time: 50 days
The first prototype provided enough capacity but developed base sagging under concentrated tools. Handle attachment also relied on a limited reinforcement area near the upper panel.
Szoneier added a stronger internal base structure, extended the handle webbing into the lower body, increased reinforcement coverage, and revised the sewing sequence around the anchor. The second sample was loaded with the target tool set and reviewed for lifting, standing stability, pocket retention, and zipper stress.
- Base deformation was reduced
- Handles transferred force through a larger structure
- Pocket openings remained stable after loading
- Early production pieces were compared with the sealed sample
Manufacturing Capacity Behind Reliable Design Validation
18+ Years Experience
8 Production Lines
120+ Production Staff
160+ Equipment Units
10+ Partner Factories
20–35 Parallel Orders
Frequently Asked Questions About Bag Design Testing
Send Your New Bag Design for Technical Review
- Product sketch, tech pack, or reference photos
- Existing prototype photos or physical sample details
- Intended use and target user
- Objects carried and expected working load
- Required dimensions and compartment layout
- Preferred fabric, lining, foam, and hardware
- Vector logo file and Pantone references
- Expected order quantity and number of colors
- Packaging and labeling requirements
- Destination country and required delivery date
- Current design problems requiring review